Weekend Project: Gift Wrap
First off-- a reminder! The store will be closed this Thursday (Thanksgiving) and Friday the 25th and 26th. So, if you have projects you'd like to work on over the long weekend, best to come in today (Saturday, we're open until 5), tomorrow from 11-4, or Tuesday and Wednesday from 10-6pm. As always, we're closed on Mondays. Modern Domestic is hosting a huge Sale on Friday the 25th through the 4th of December. Check their site for ways of saving on almost everything in the store.
--Melissa
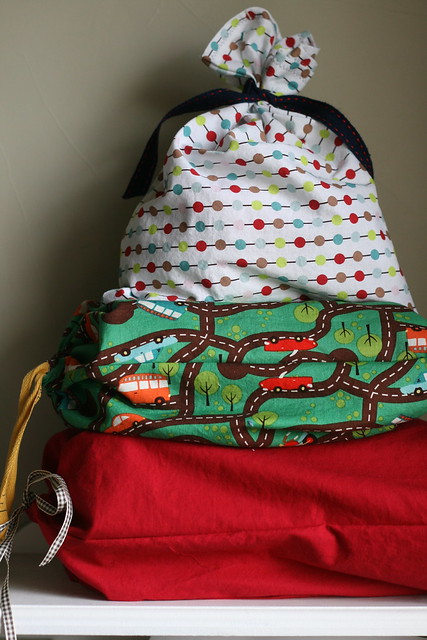
I have resolved to part with my dreams of a coordinated wrapping paper scheme under the tree. Instead, I'm prepping for a re-usable, holiday neutral, but no less coordinated fabric wrap plan. That way, even if the gift is not hand made the way in which it is presented will be! This is a surprisingly economical way to go, considering how many times these bags can be re-purposed. Best of all, the fabric doesn't have to be celebration specific! None of these reds and greens scream Christmas until they're piled up together. The prints are both from a recent shipment from Riley Blake.
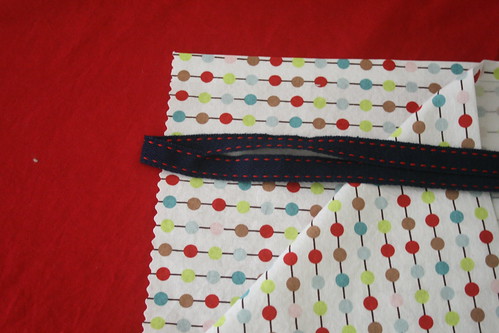
The Ribbon Bag
This is the easiest bag to make. Cut two rectangles of matching dimensions. Finish the top edge by serging, tacking down, or hemming. Place the rectangles right sides together, sandwiching two lengths of ribbon 2" from the top edge. The pieces should be at least 10" long for a nice bow. Sew up the remaining three sides and you're done!
The Drawstring Bag
This has one or two more steps, but ends up being more versatile in the end. It can go back in the gift wrap box, or you can use it to hold shoes in your luggage, soccer uniforms, or produce from the grocery store.
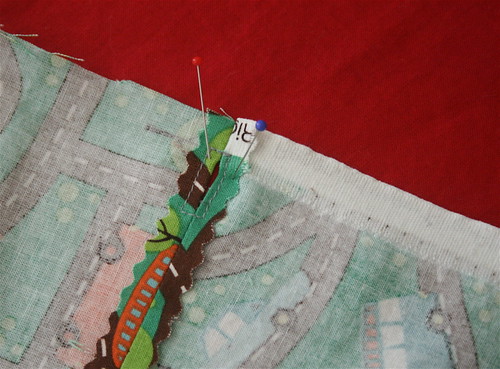
Cut two rectangles of matching dimensions. Begin by sewing one of the side seams first. To do this, create a line of stitching 3/4"-1" long, back tacking at either end. Leave an opening 1" long. Resume a line of stitching all the way down the side, across the bottom, and up the other side. Press the seam open and top stitch around the 1" opening you've left in the seam. Fold down the top edge to hem and top stitch a 1/2" from the edge. Use a safety pin or bodkin (large threading needle) to thread a ribbon or string through the channel you've created, using the keyhole you've created. Knot the ends of the ribbon together.
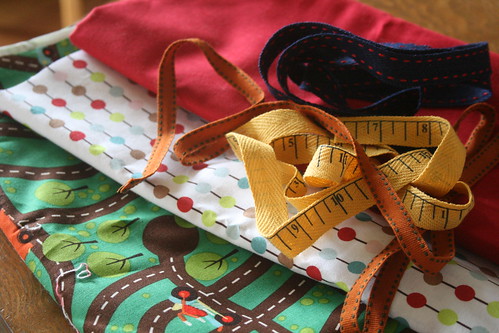
Try making your bags out of a rainbow of plain Kona cottons or mix it up using coordinating novelty fabrics. Using fabric paint (we carry my favourite, Jaquard Textile Color), you can stencil initials or simple graphics on the outside.
A Few More Ideas:
- Baste some fancy or funny (we carry both) dish towels together for sheet wrap.
- Serge or hem up cloth napkins to wrap around culinary gifts.
- Use luxury fabric like silk or velvet for small drawstring bags. And don't forget to trim them out! We've got gorgeous ribbon and wool felt for applying or appliqueing.
- Visit our friends down at Collage and pick up some fabric friendly stamps and stamp pads. Then let your kids get crazy with a large piece of muslin. They've also got some super cute gift tags at the moment.