A Baby Quilt with Satin Binding & Mitered Corners
By Sarah
What better way to welcome a new baby into the world than with a homemade satin bound quilt. Babies love the feel of satin. It is soft, smooth and cool to the touch. Satin blanket binding, of which we carry a wide variety of colors, comes in pre-cut packages of 4 3/4 yards, the perfect amount to bind a standard size baby blanket or quilt.

Supplies:
1 package craft size Warm & Natural cotton batting or a piece of batting that is 34"-36" x 45"
1 yard of quilting weight fabric for the front and 1 yard for back
1 package of Wrights Satin Blanket Binding and thread to match this
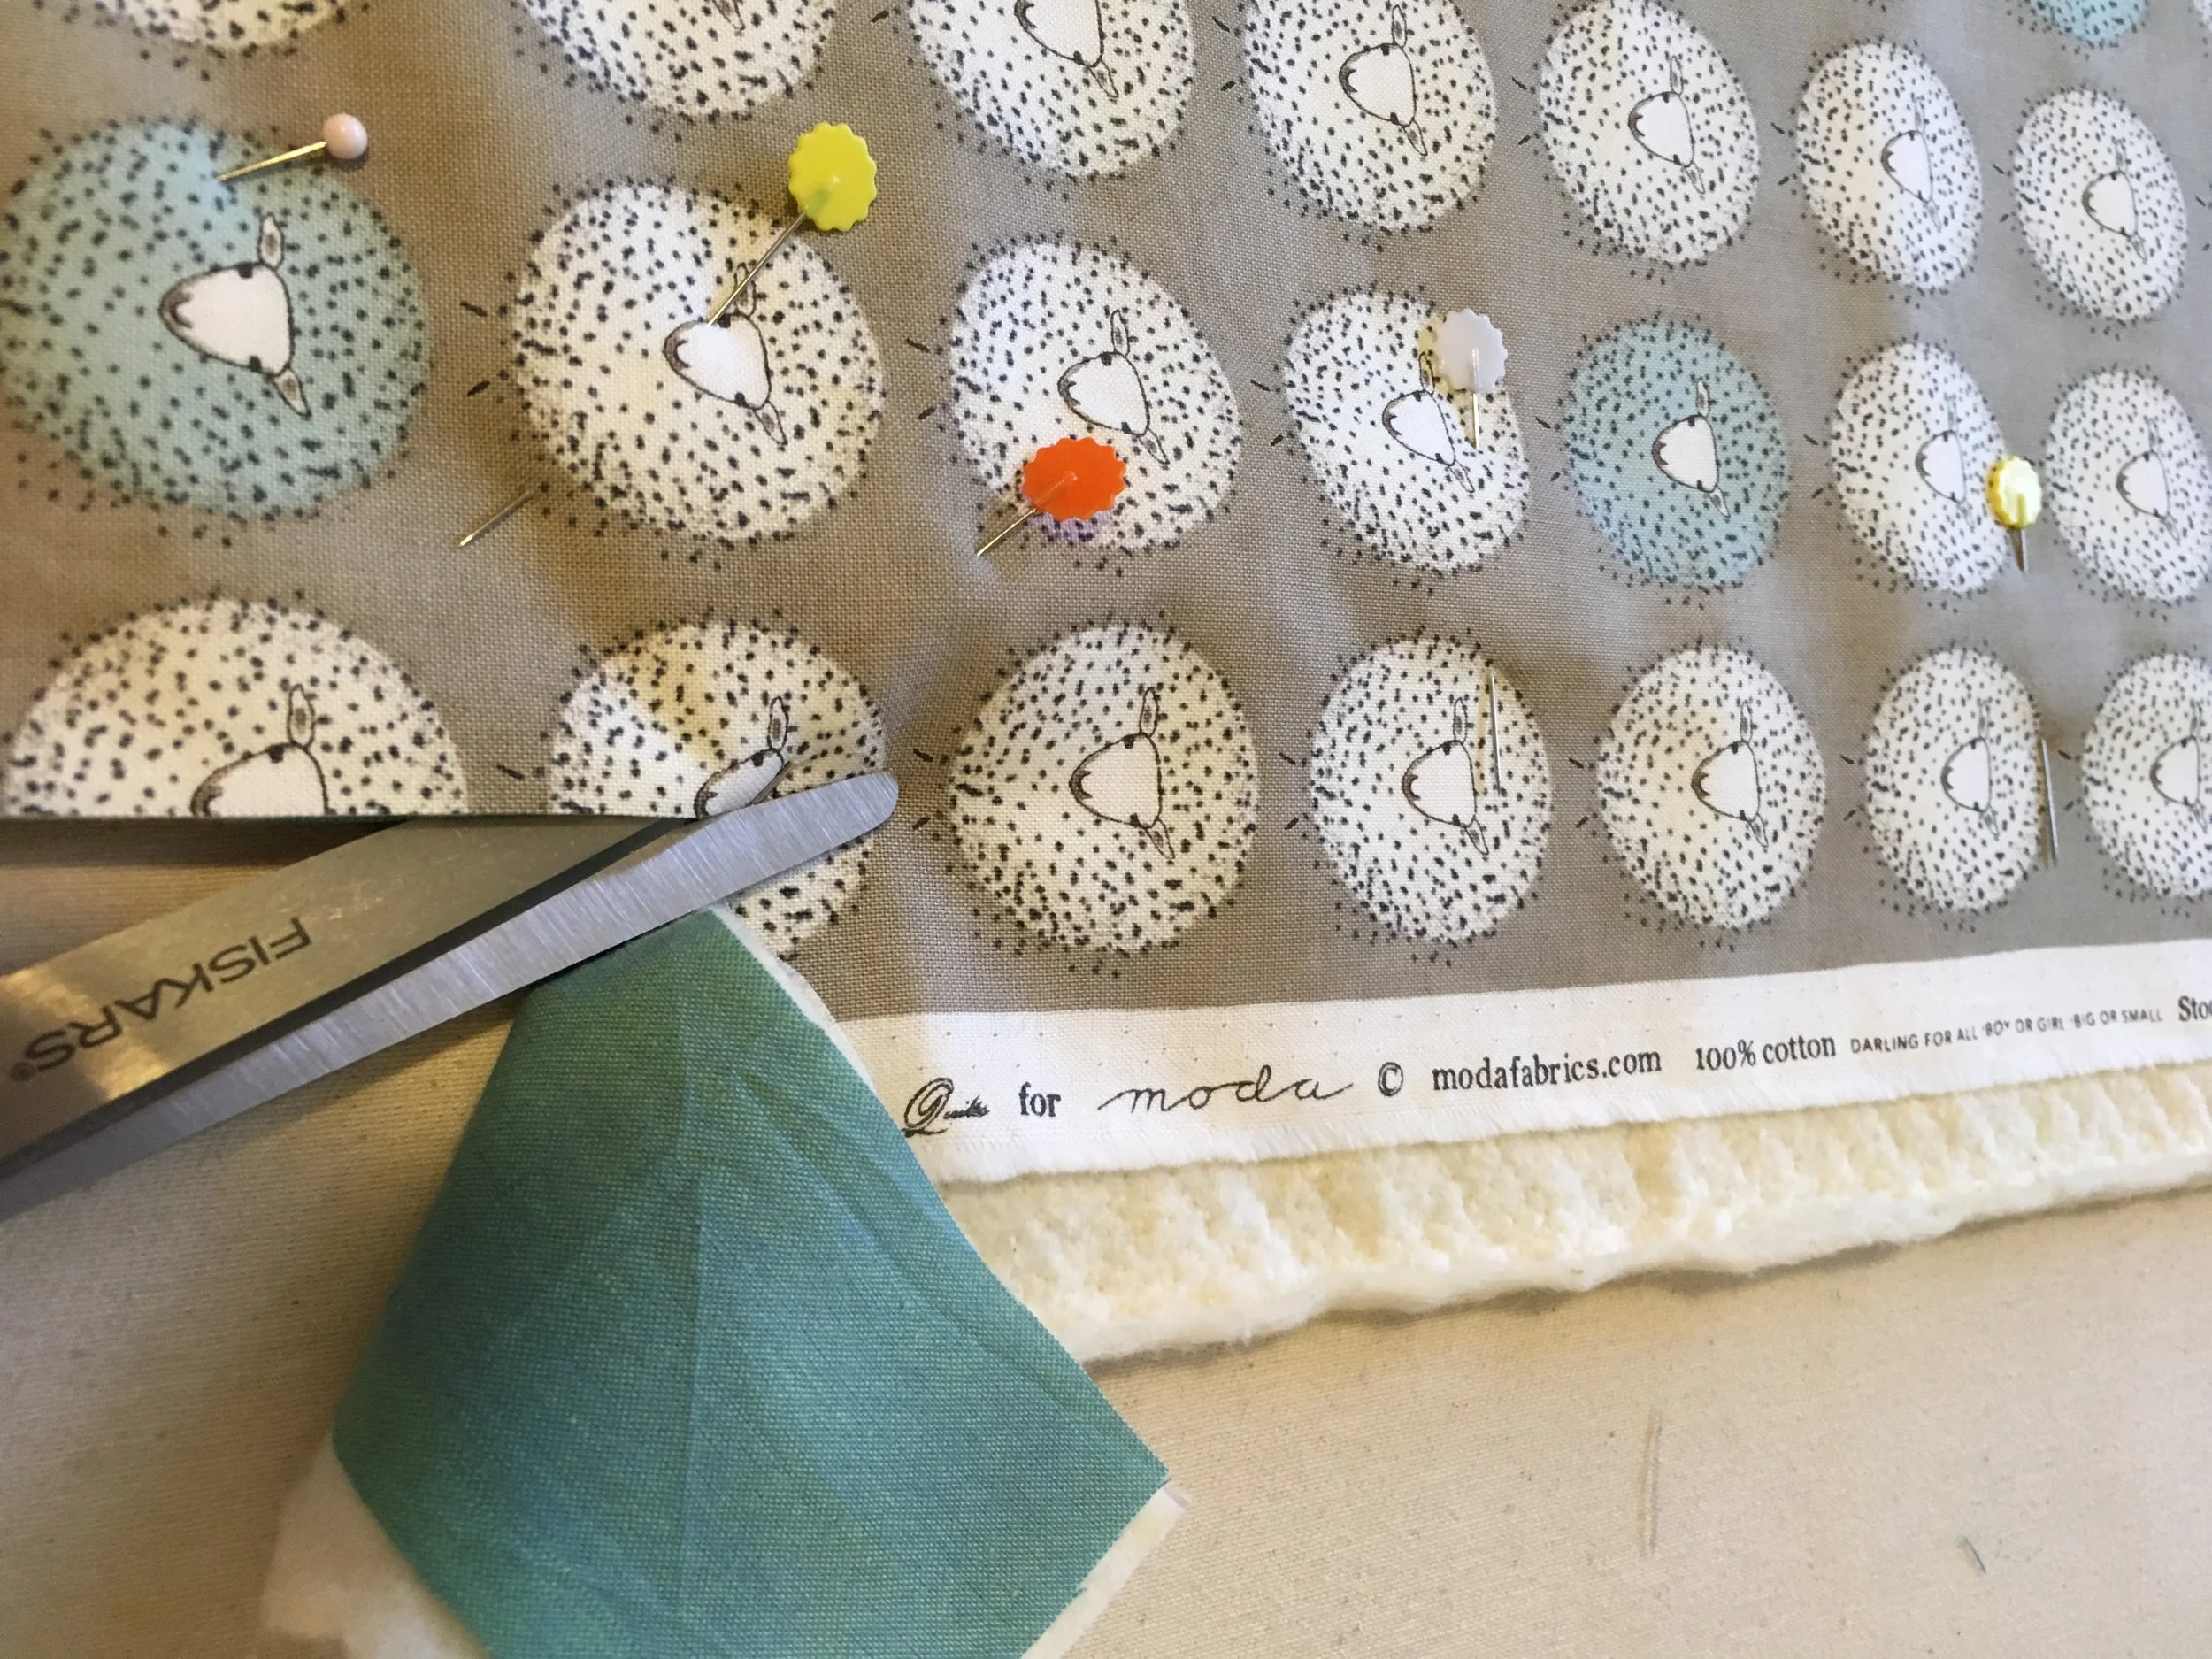
Layer the back fabric, batting and top fabric pieces and pin around all sides then cut through all layers to even everything up. I used the fabric's print as a guideline for cutting.
With the top of the quilt facing up, line up your binding with an edge (doesn't matter which one you start with) leaving about 4" extending off the the top edge. Starting about an inch down from the top of the edge, sew your binding on lining it up with the quilts edge and use a 1/2" seam allowance.
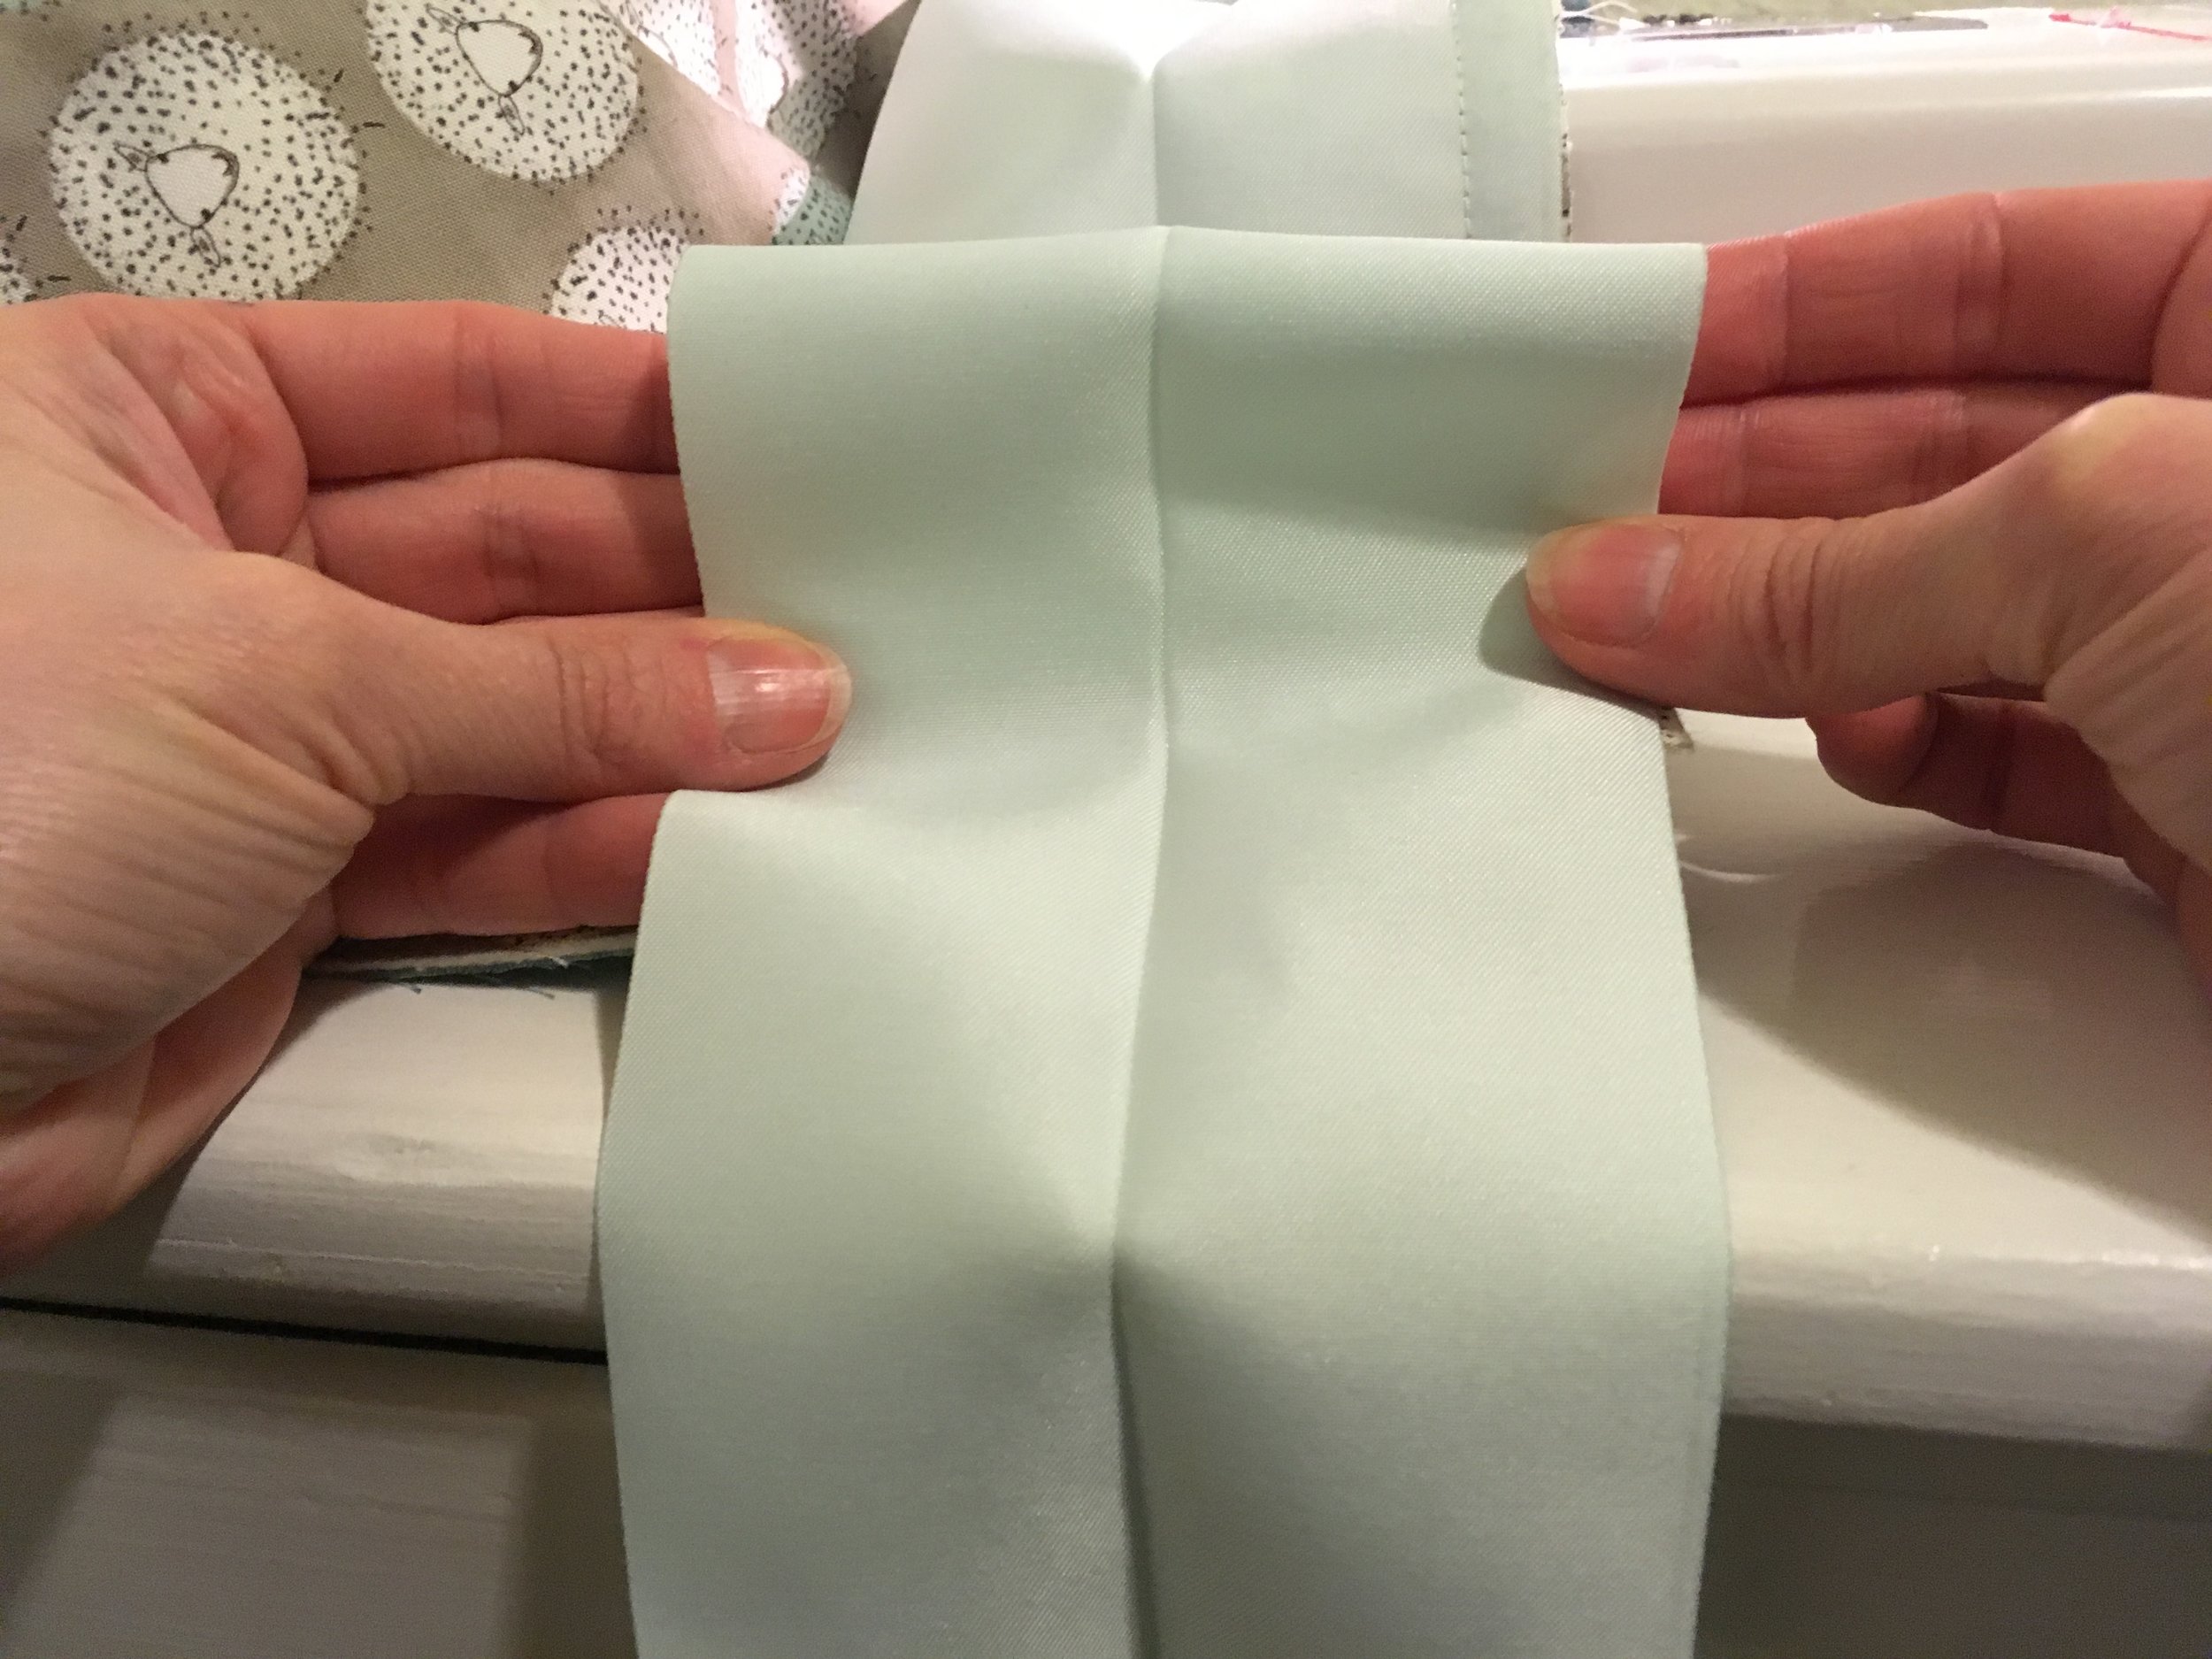
When you get near the bottom, near 1/2" to 5/8", stop and backstitch. Then fold your binding like pictured above.
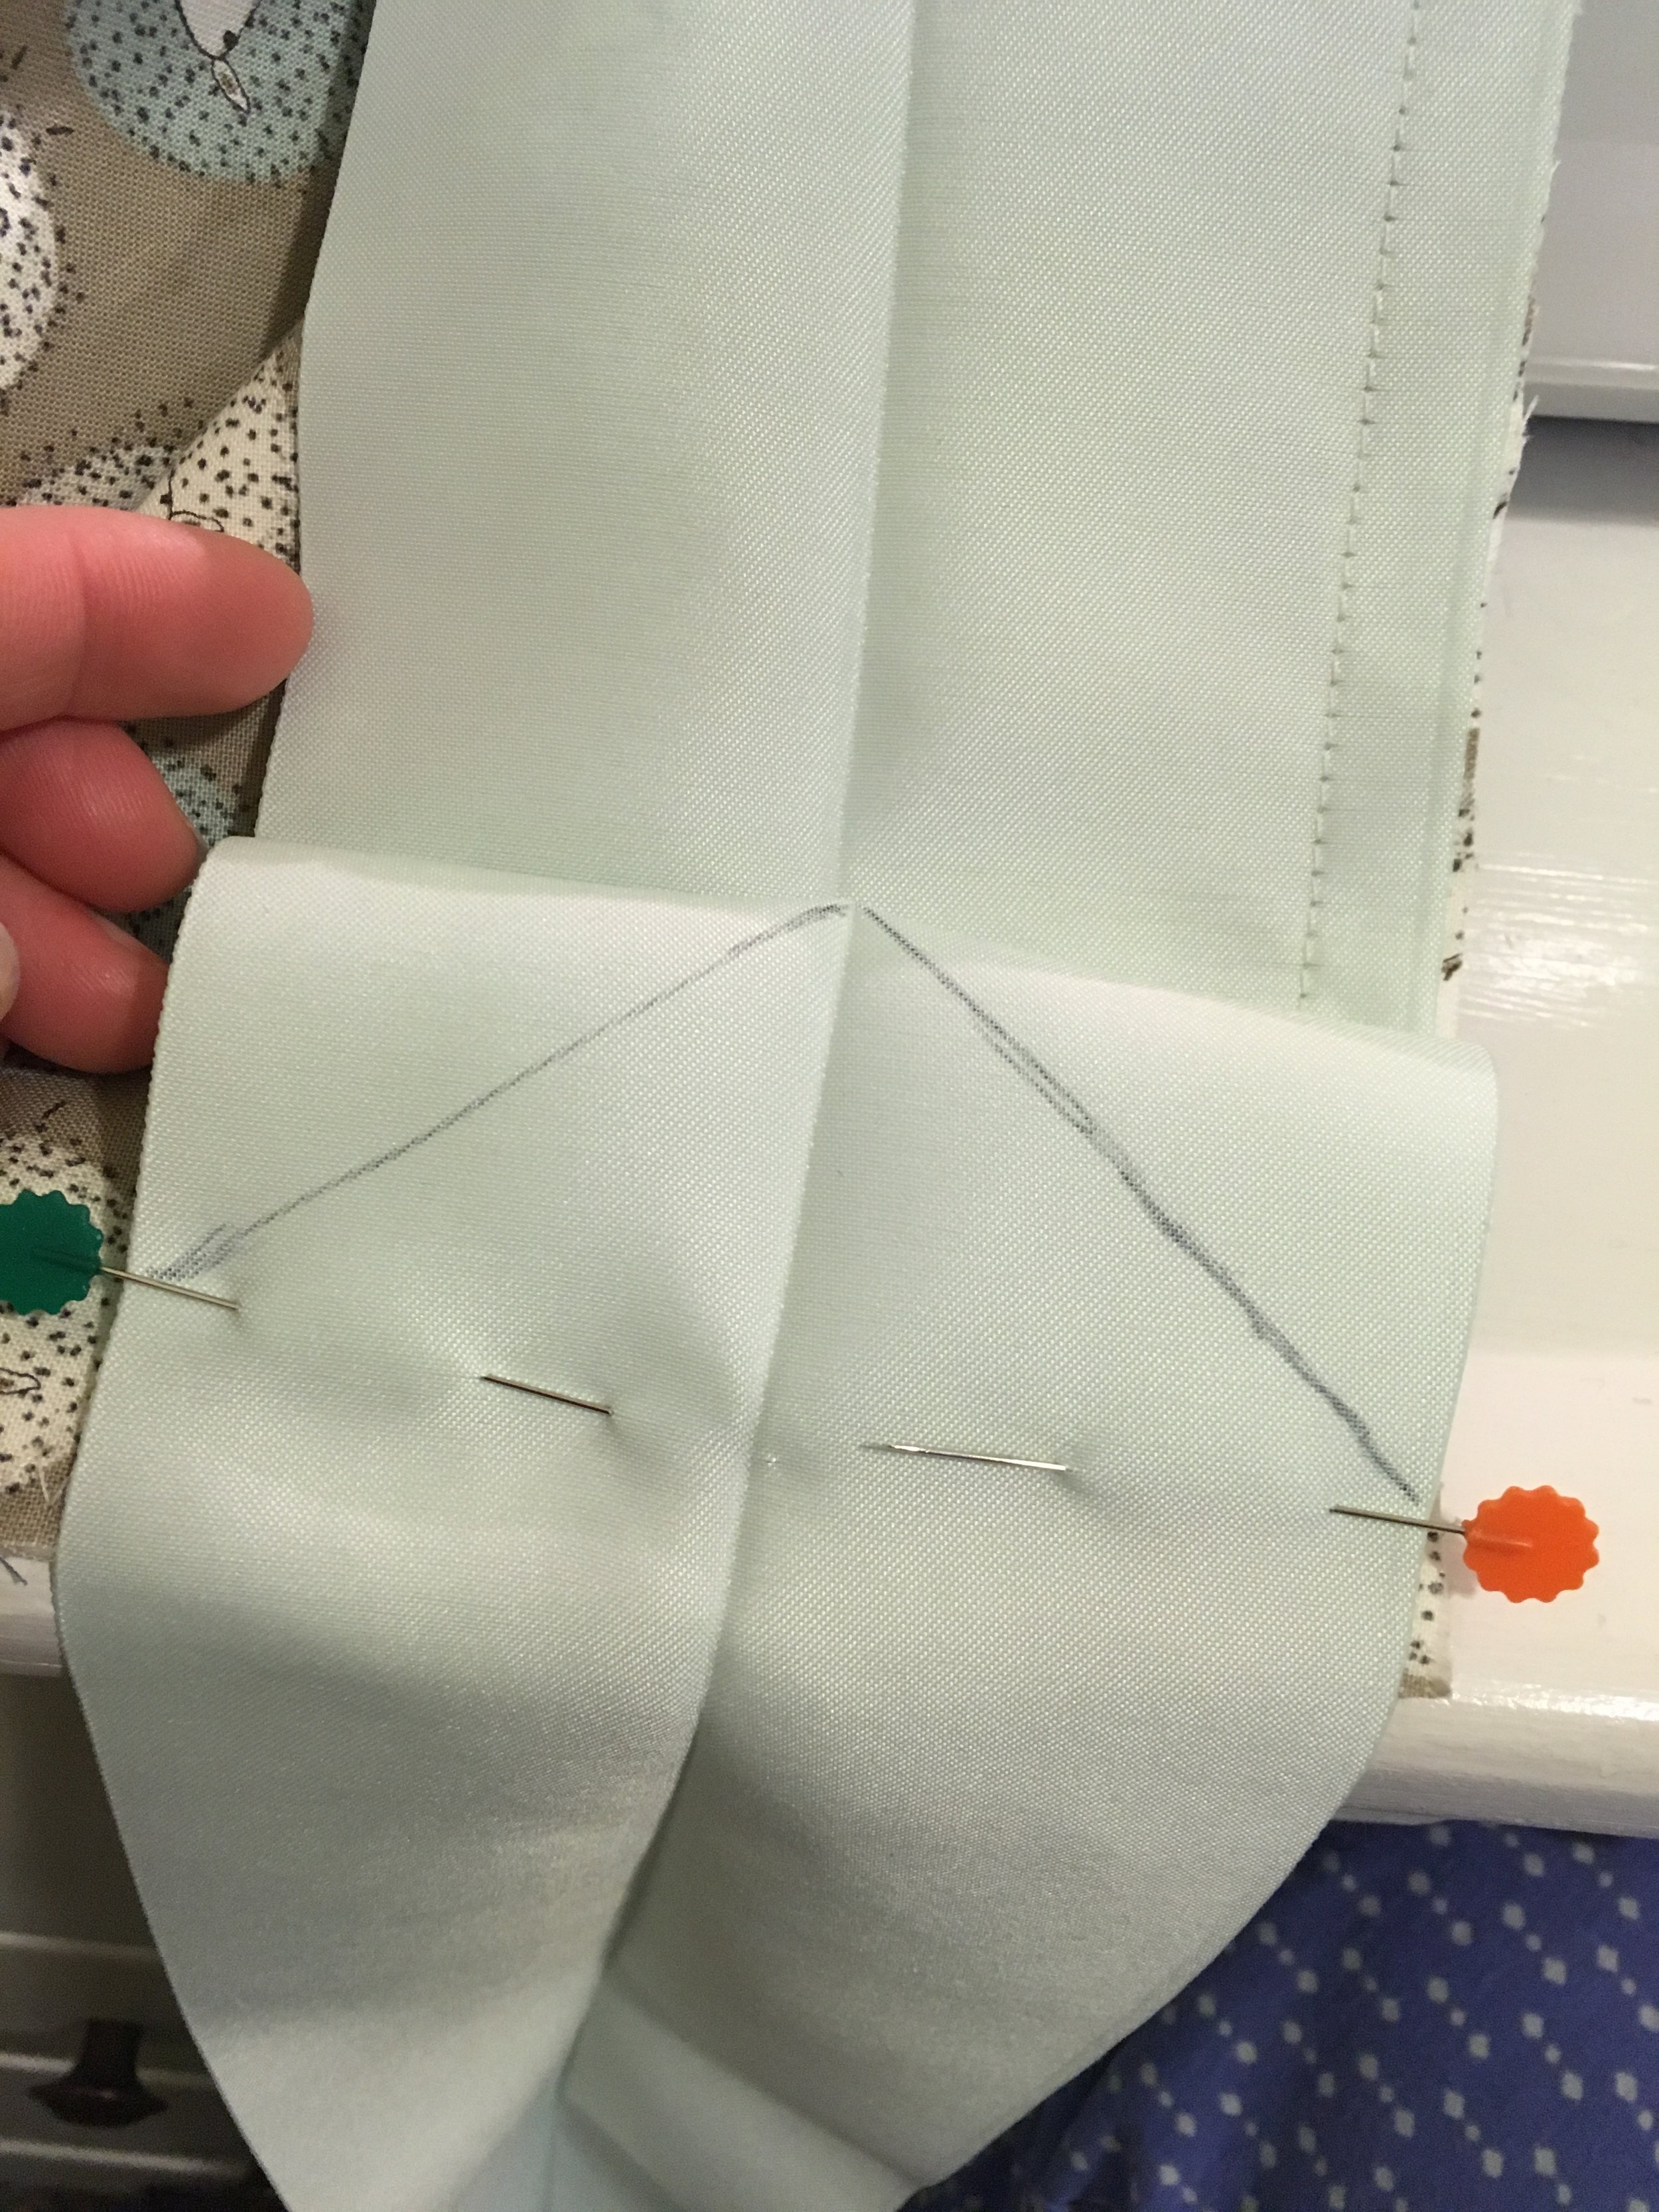
For a stitching guideline, draw two lines like so. For those of you who don't know, this is called mitering.
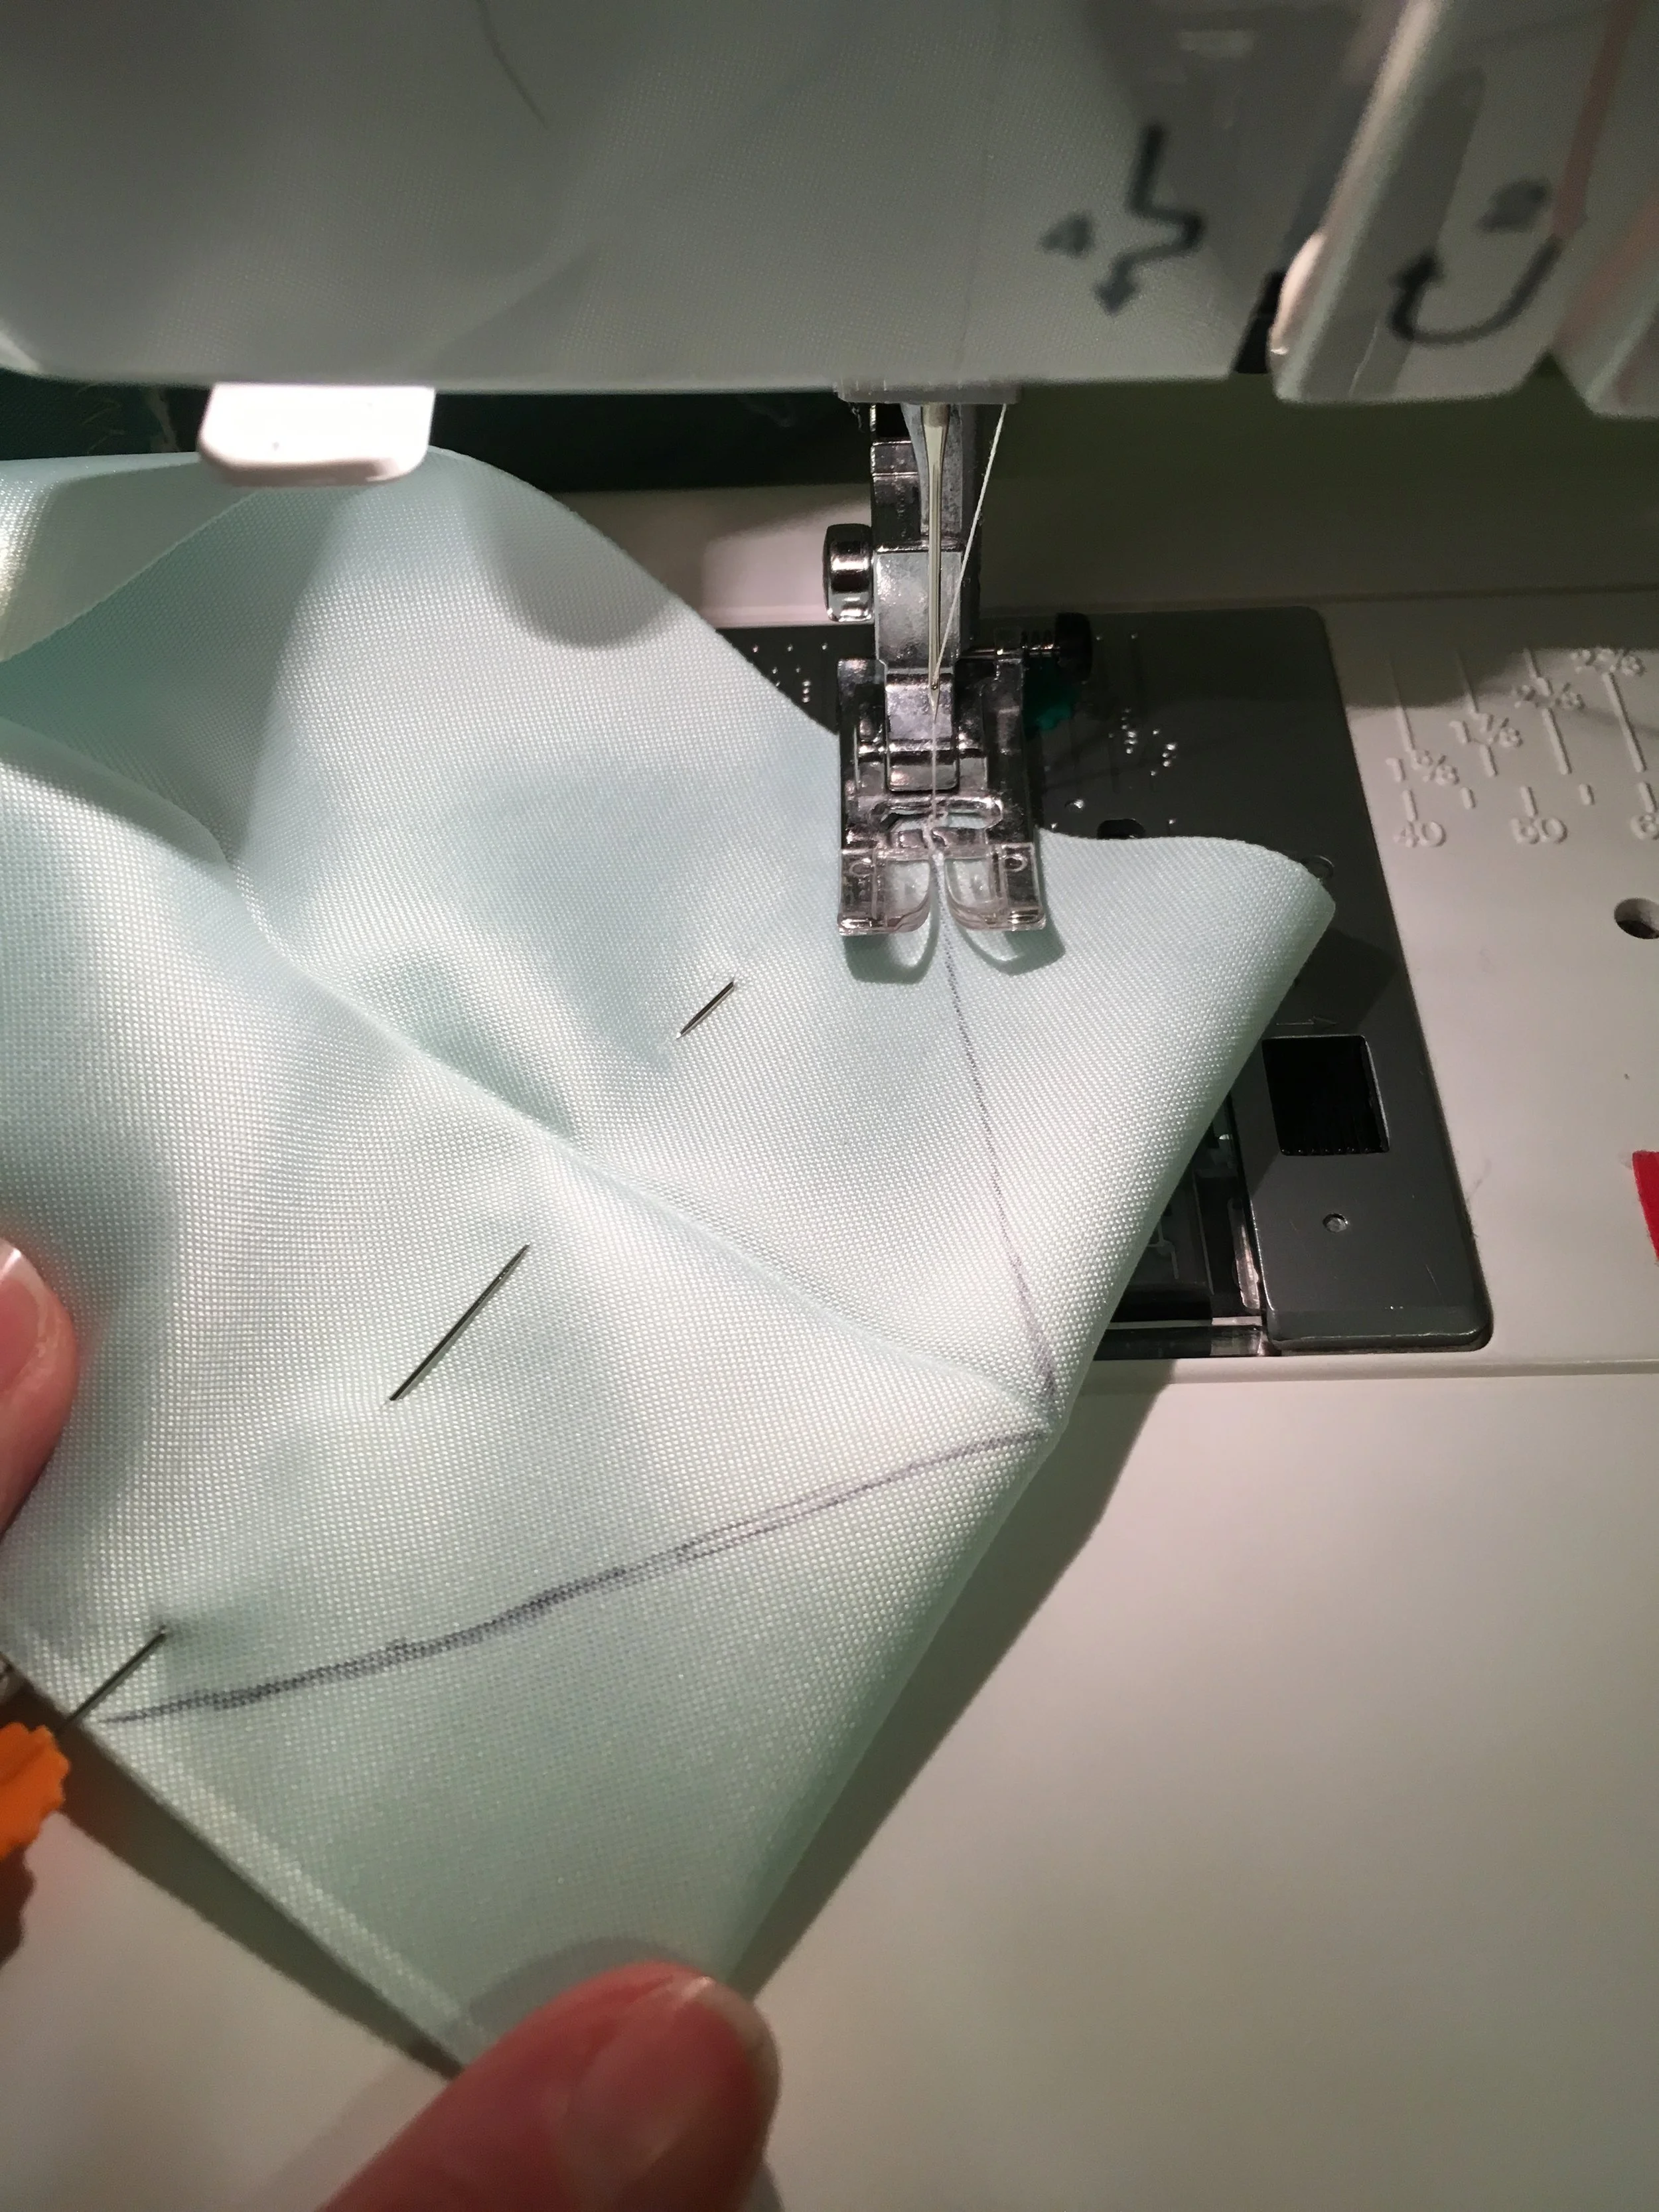
Stitch over lines. For those of you who don't know, this joining, to create a 90 degree angle is called mitering.
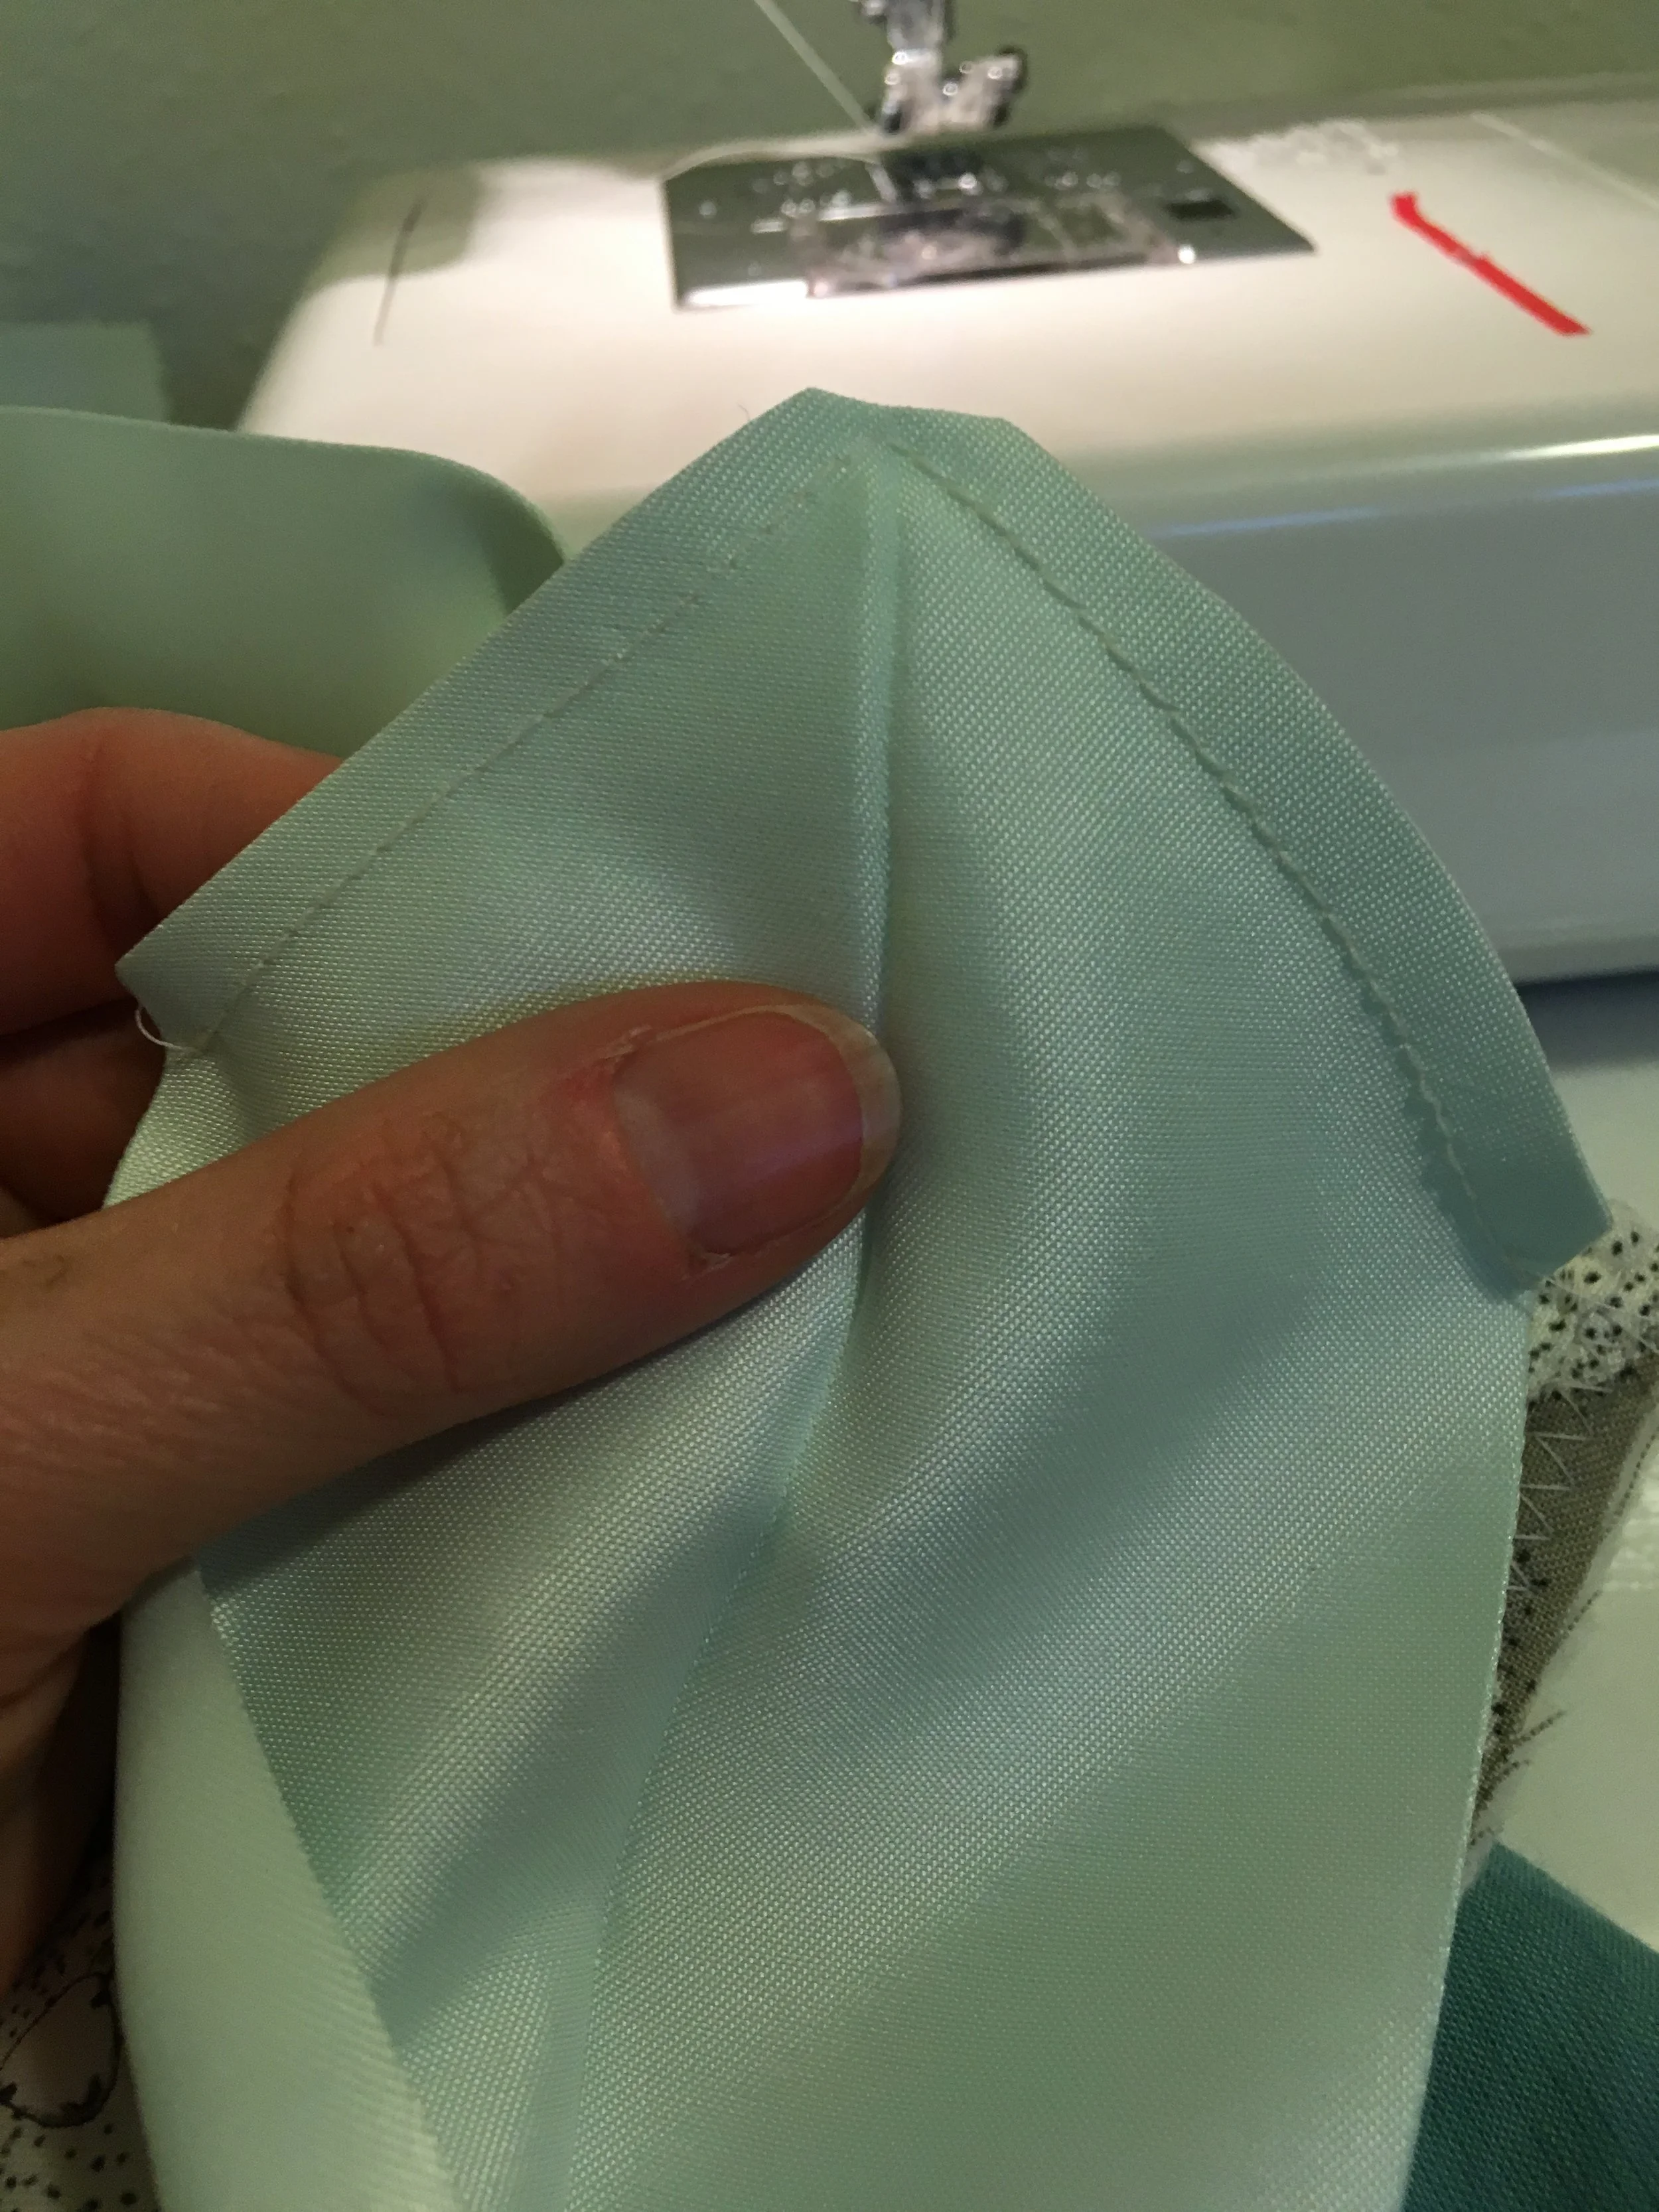
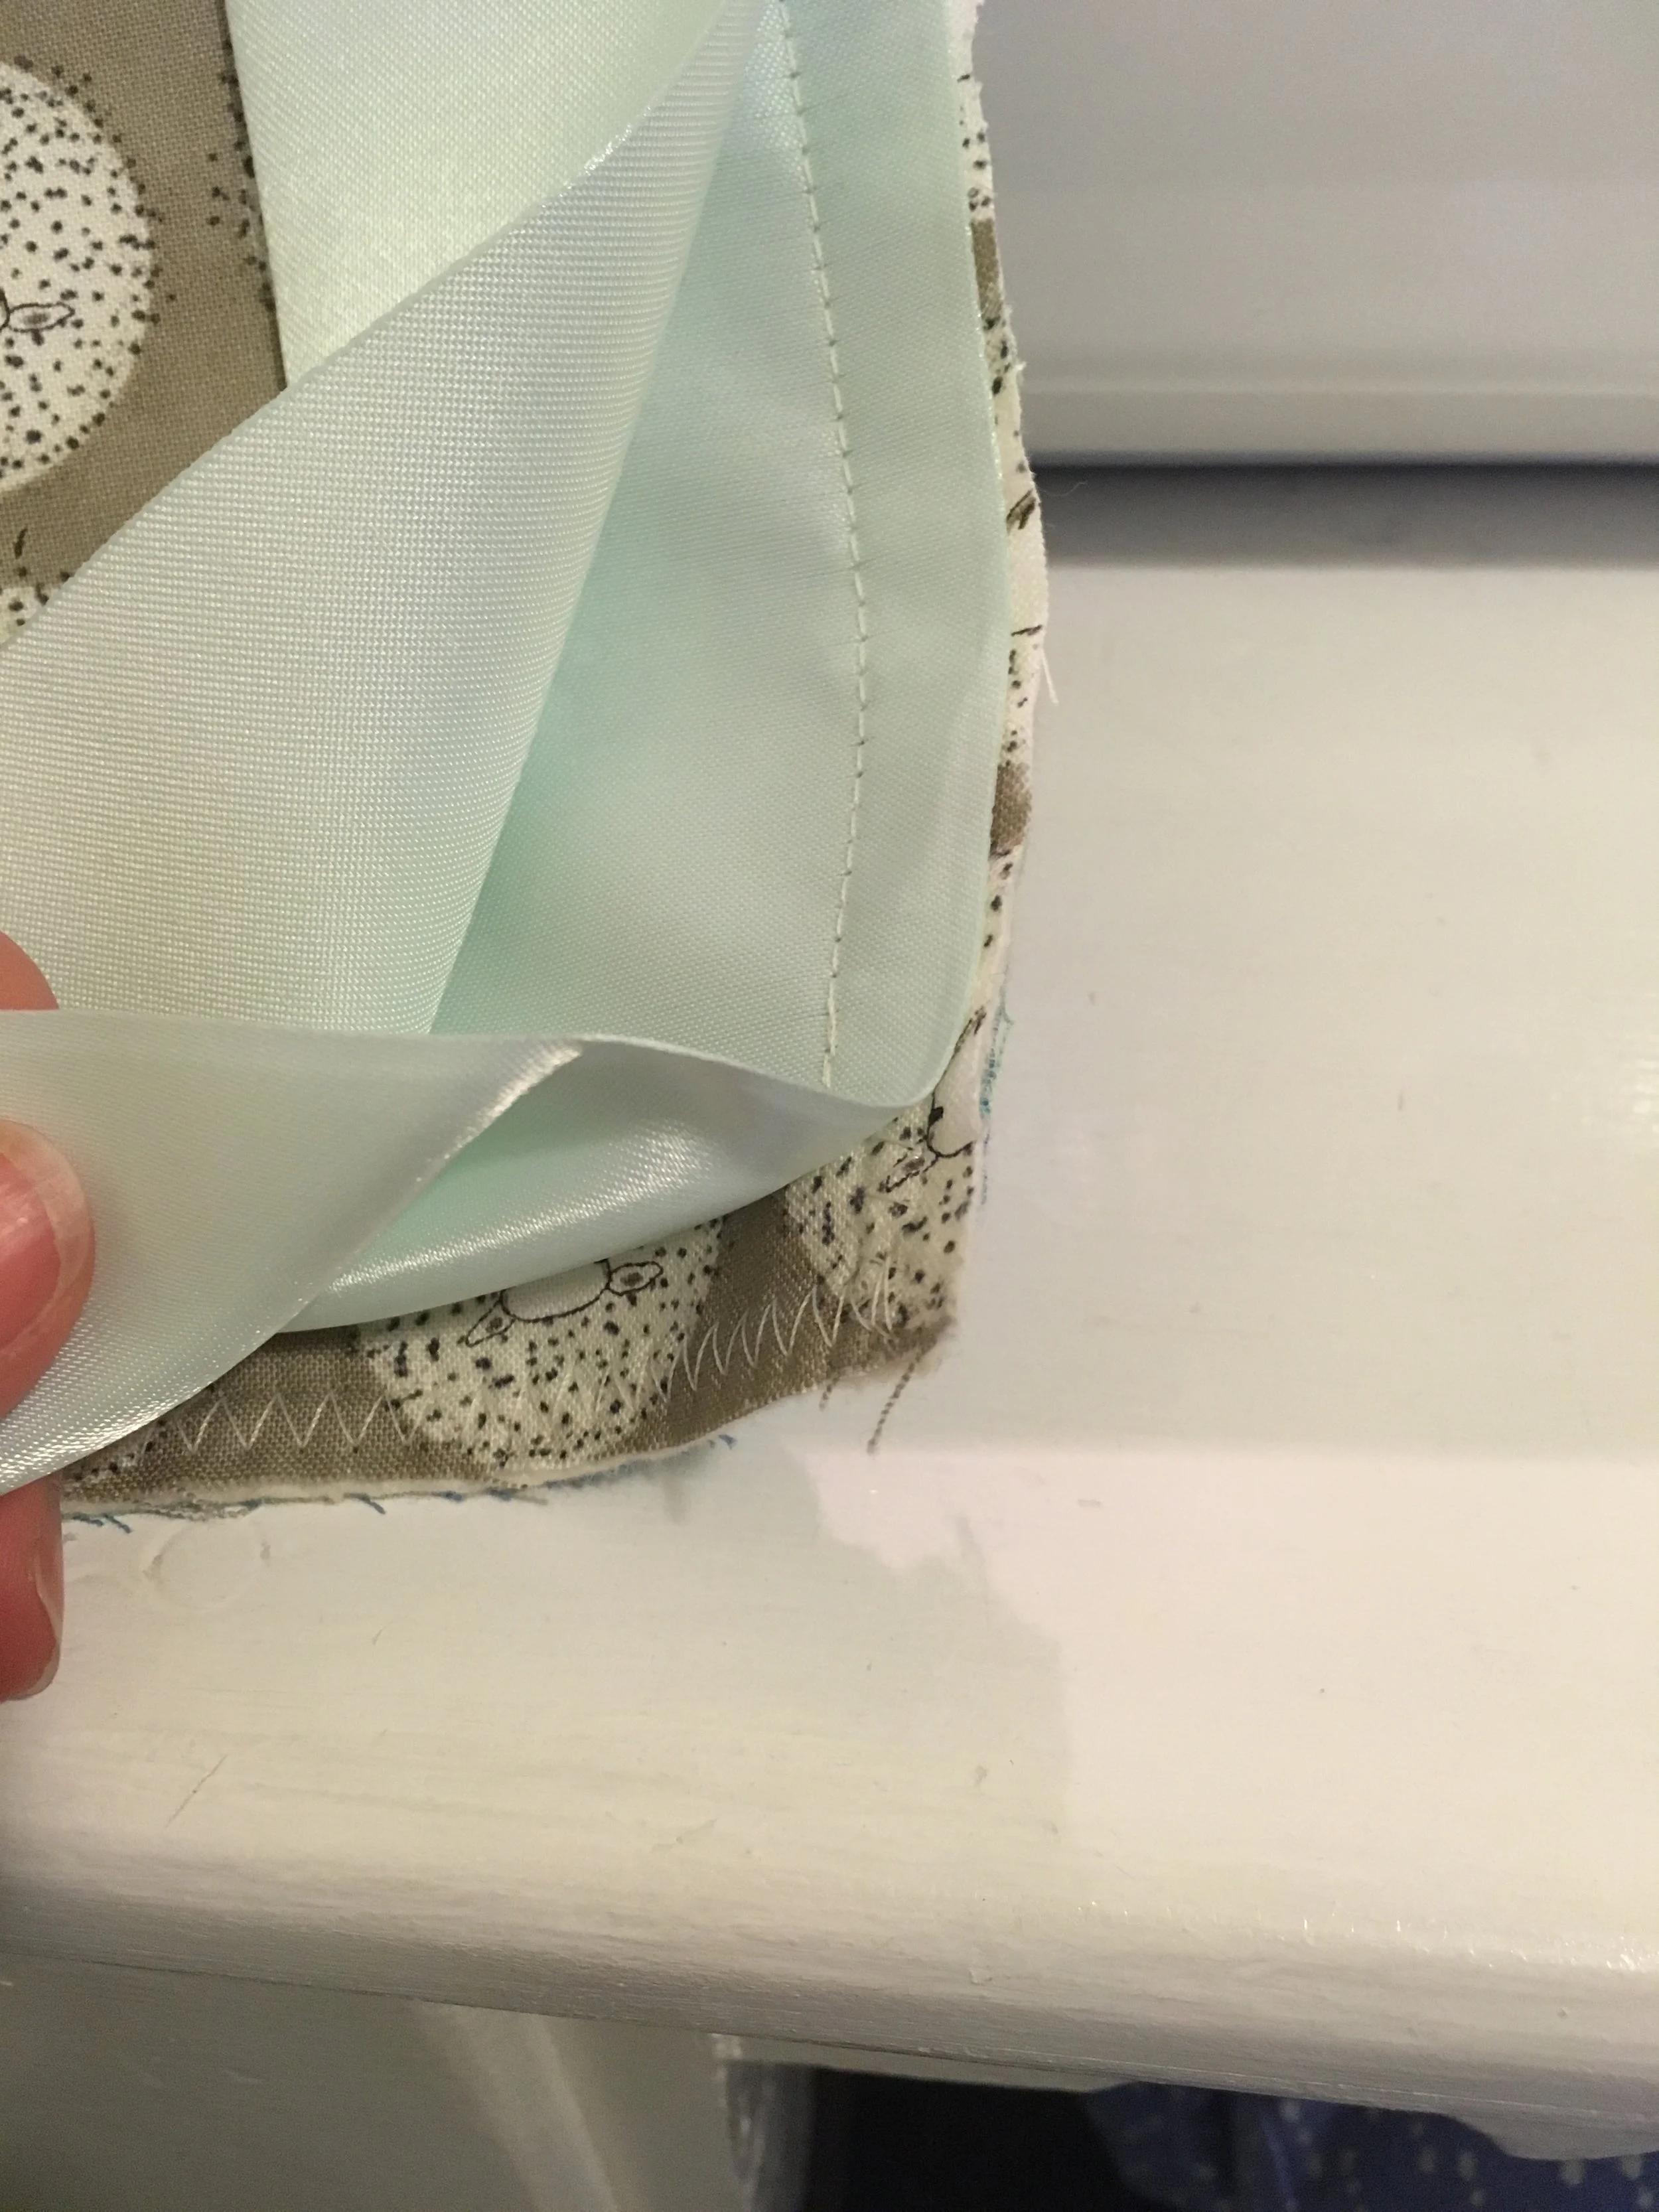
Trim, turn this point out and then pivot the binding and continue to stitch along the next edge, corner and so on. If you are struggling with this, thats ok, just be patient. It took me a while to get the hang of working with this slippery and heavy binding but the beautiful end result is worth the struggle.
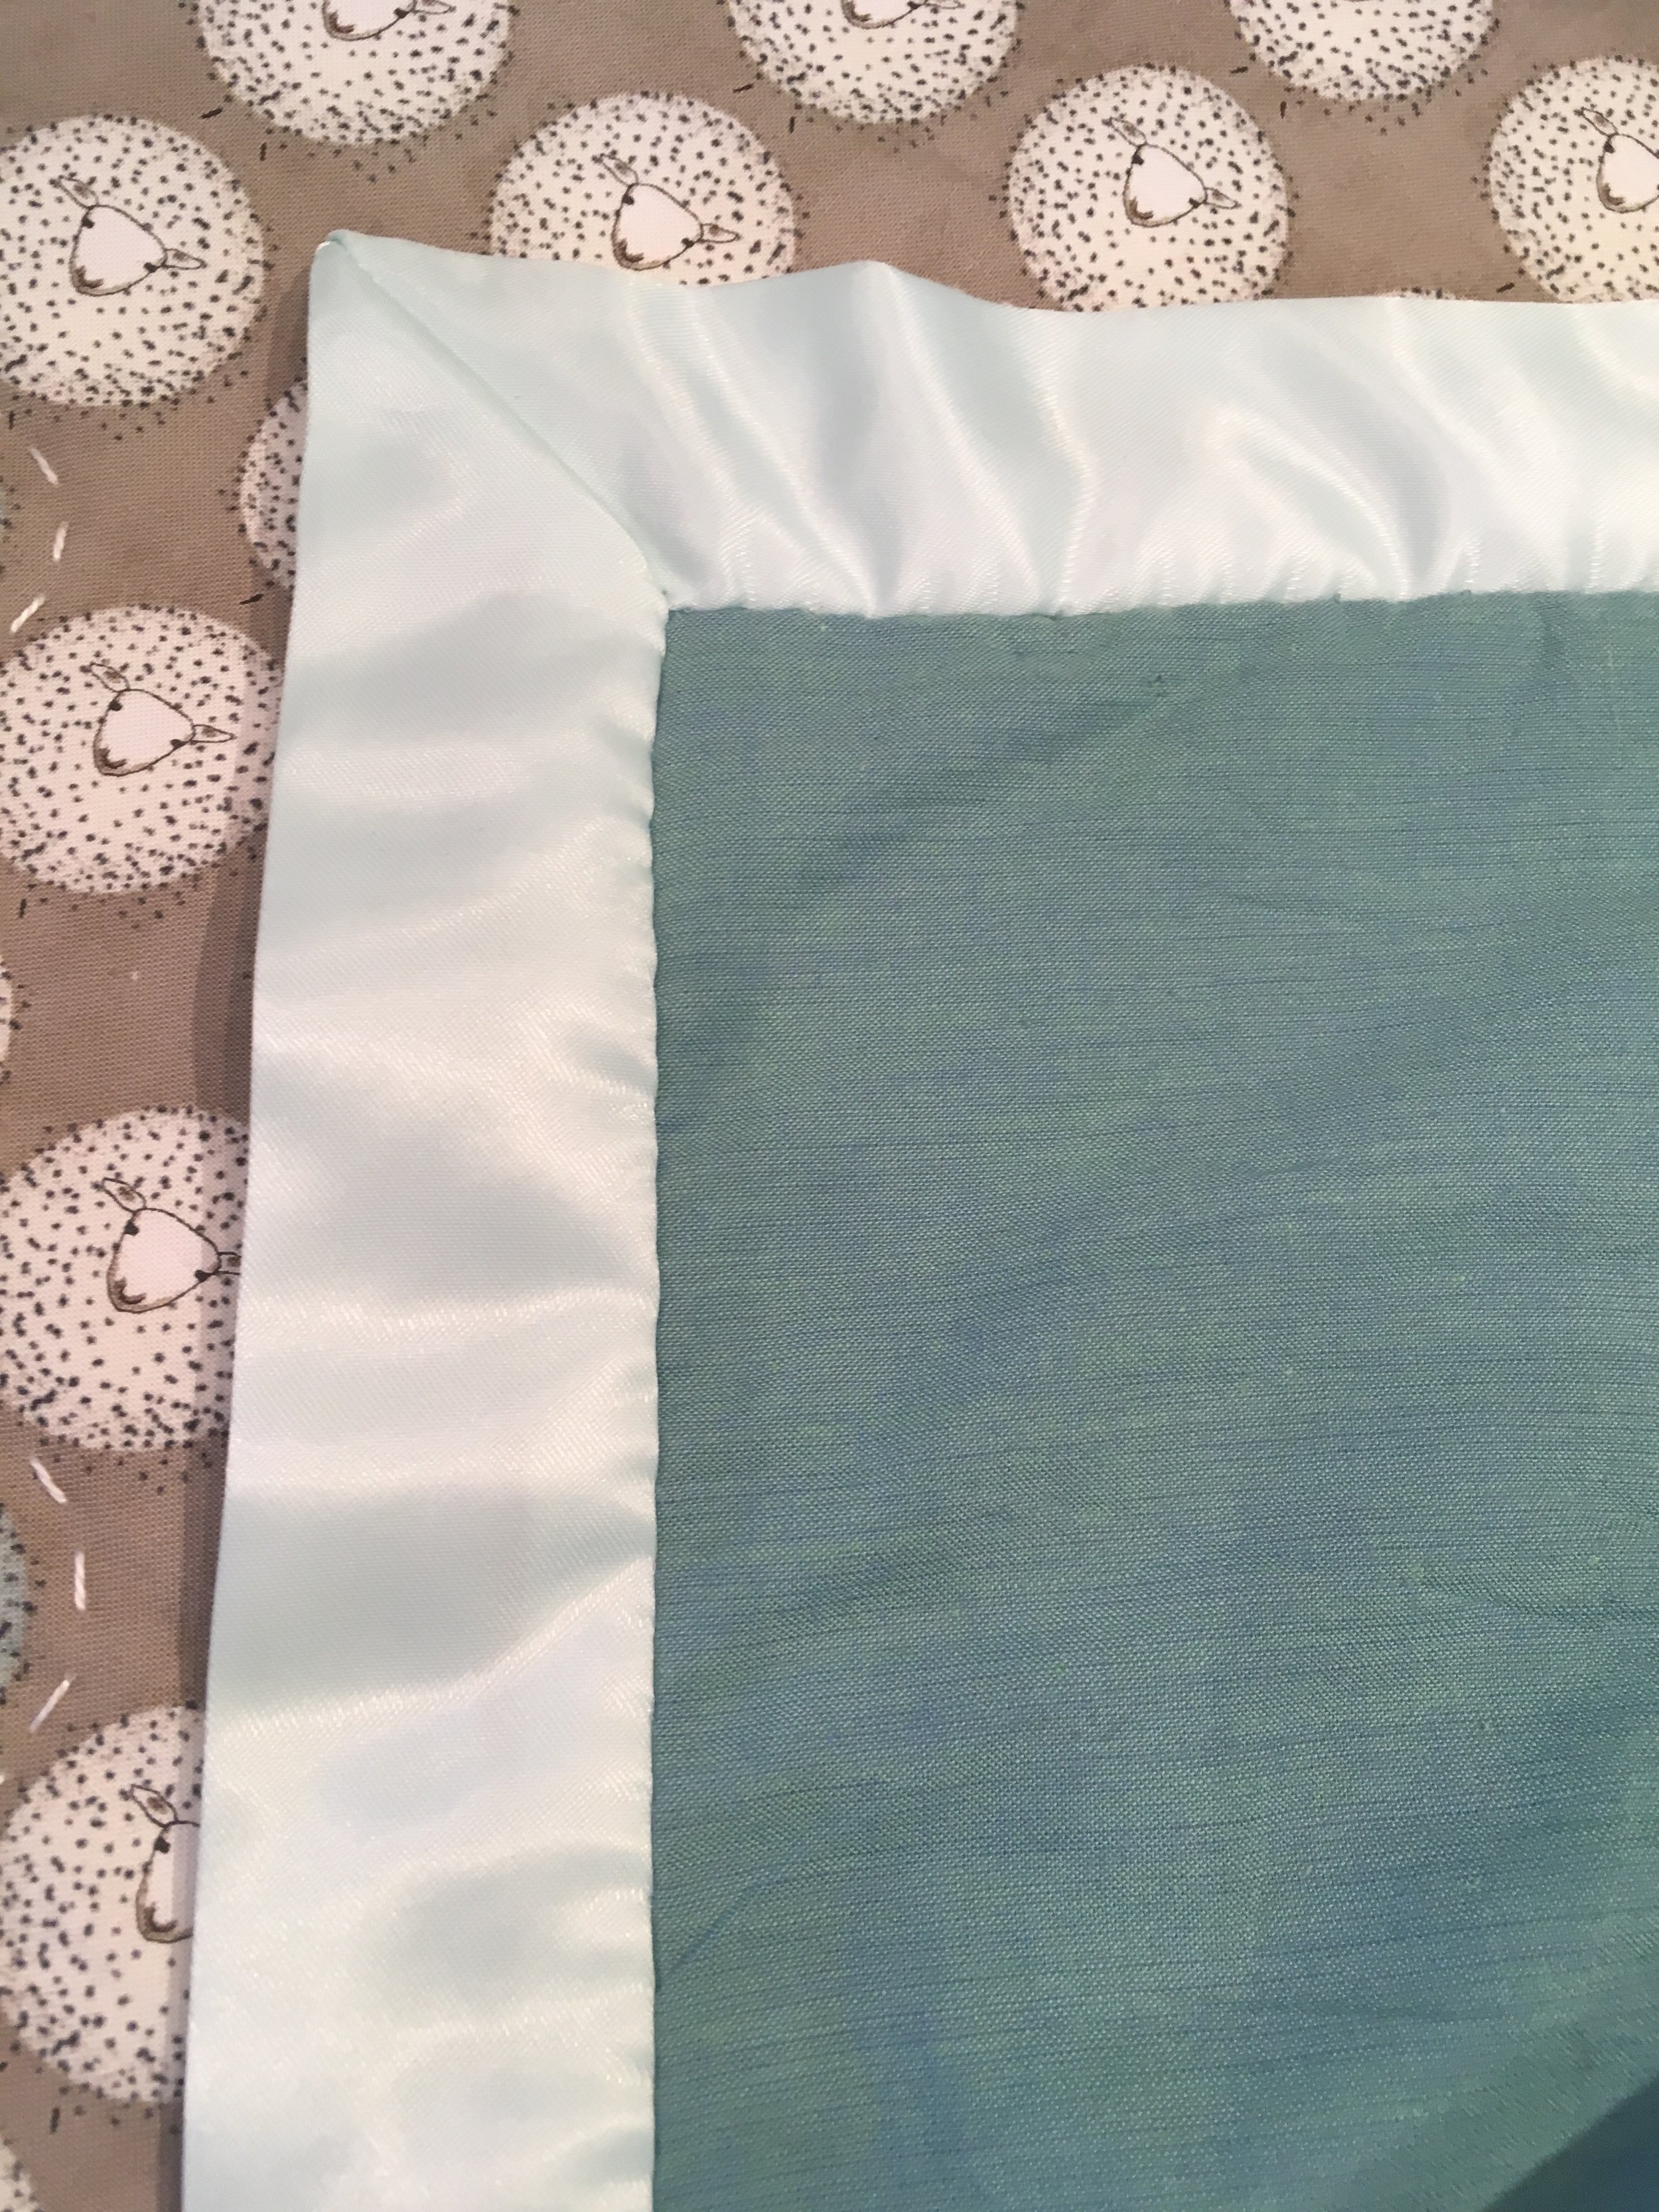
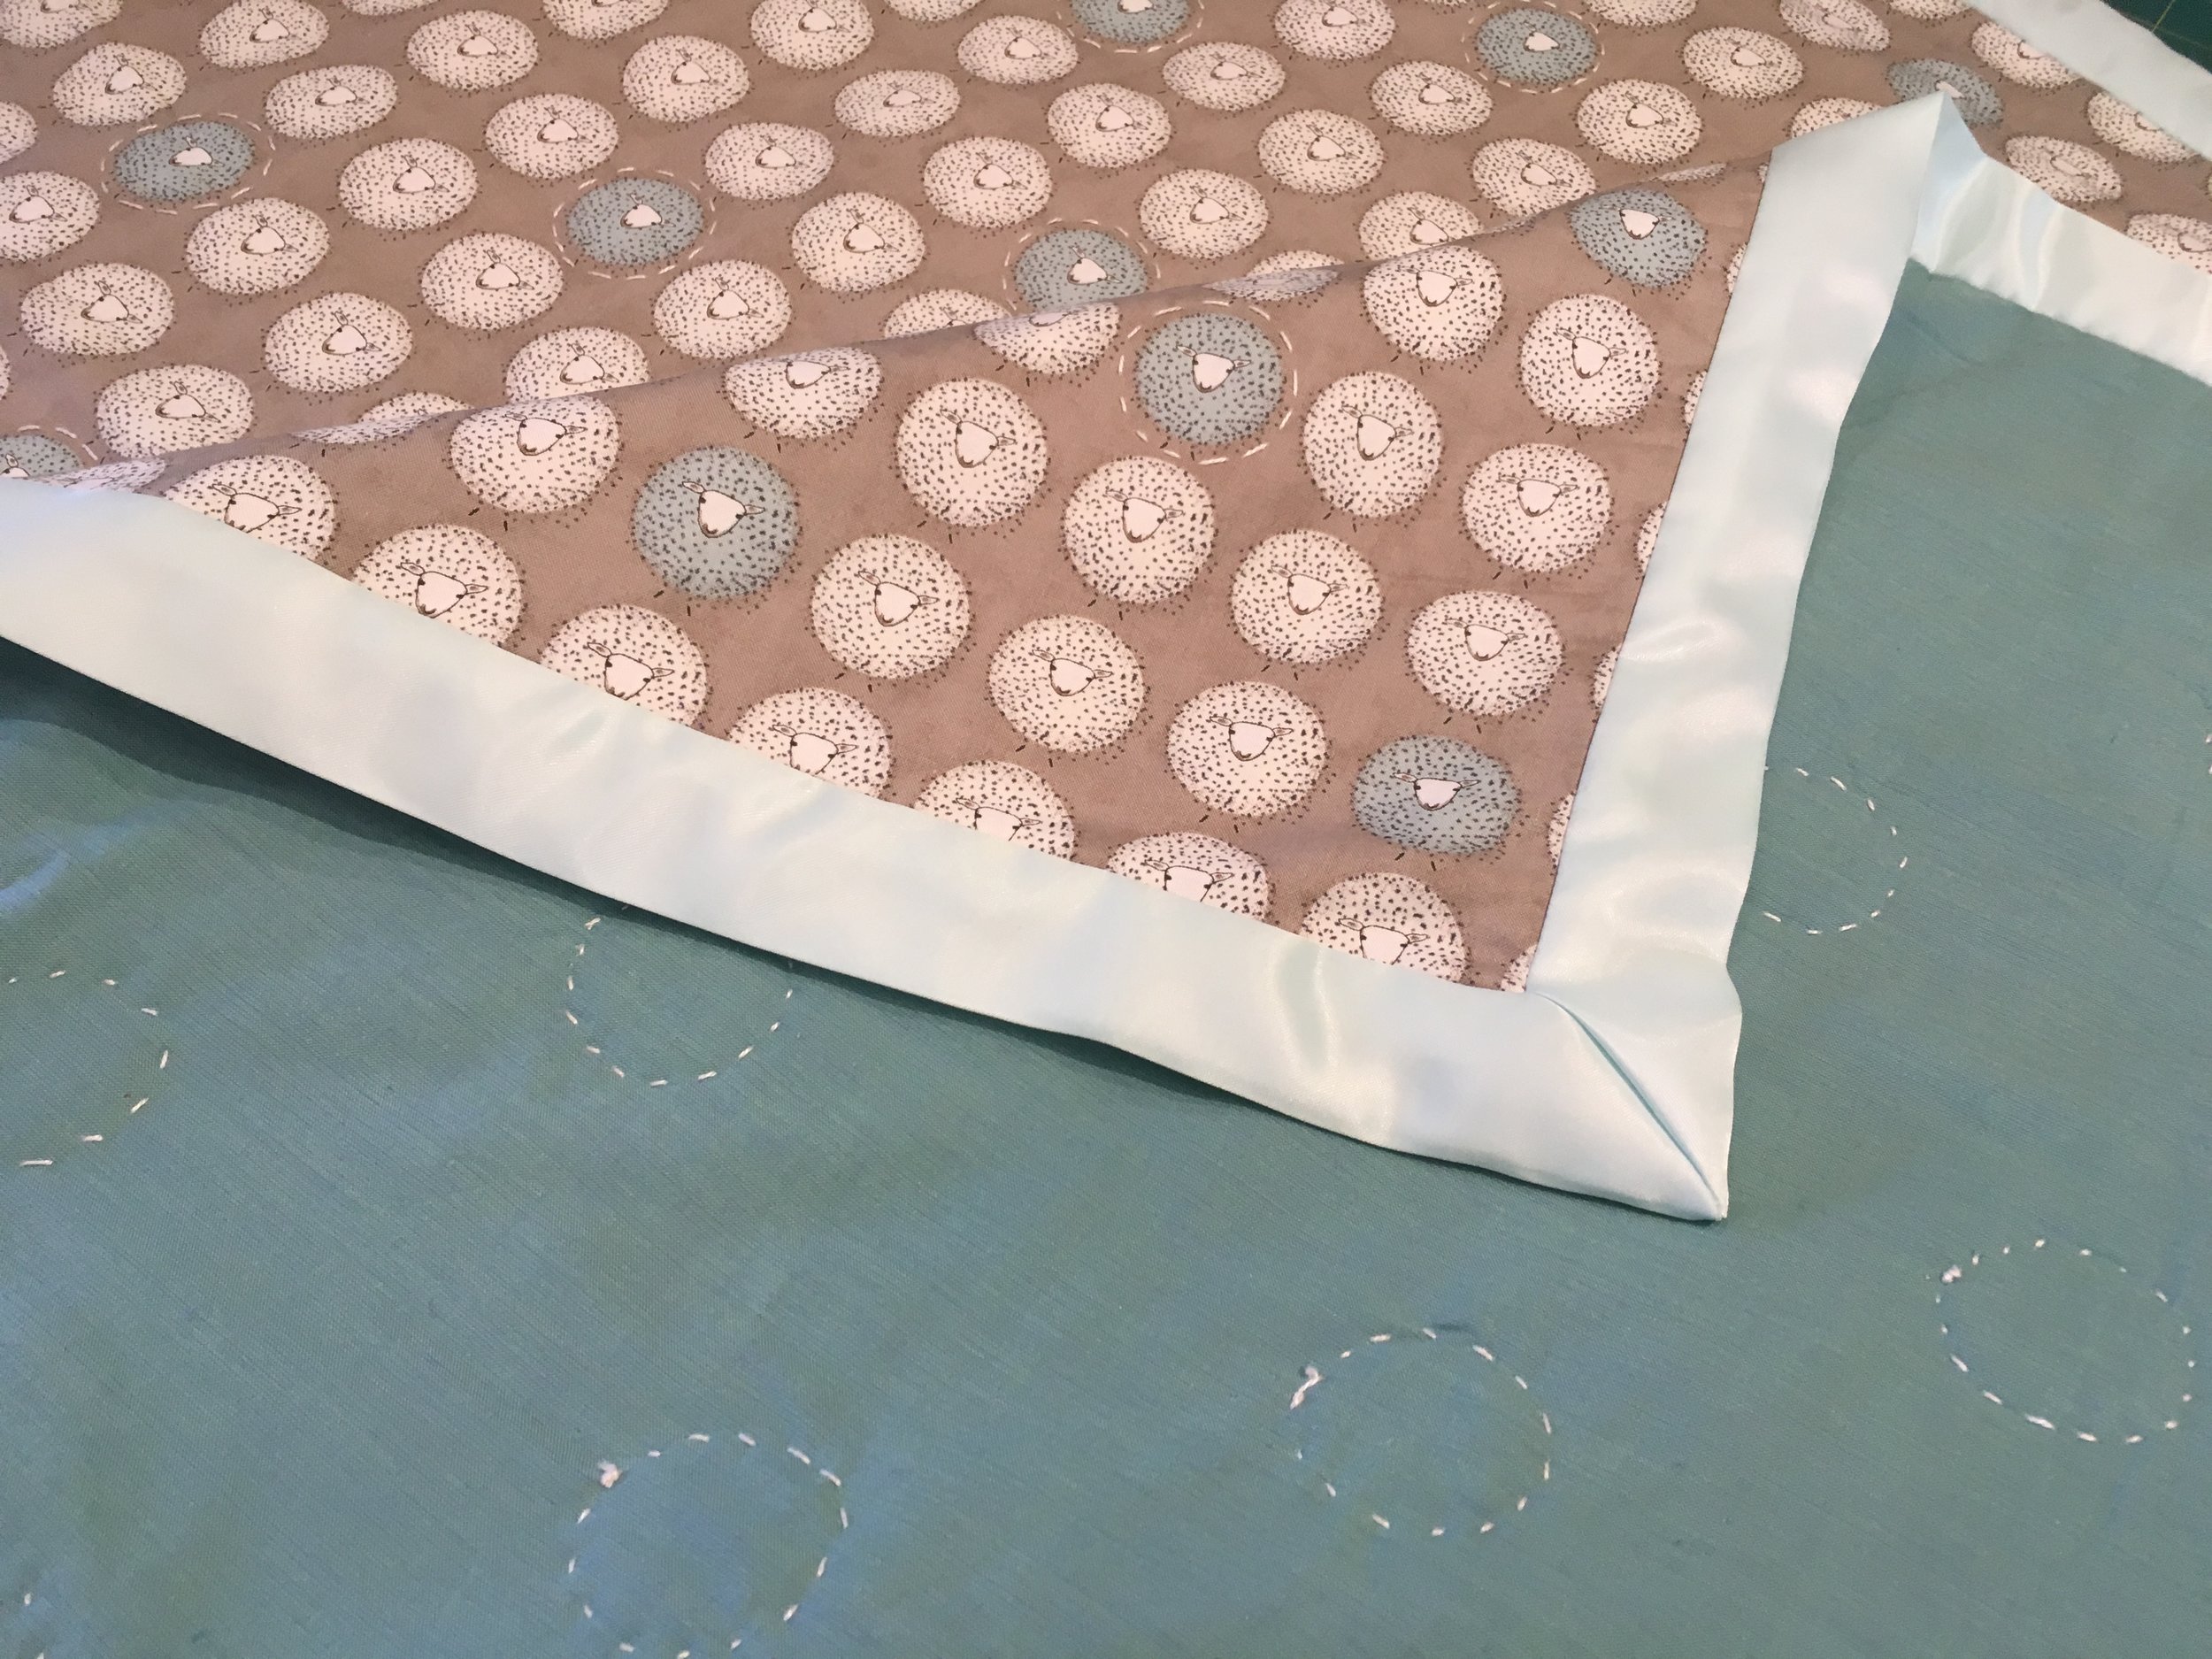
After you have the binding sewn onto the top side you will then turn the freed edge of satin binding onto the back side of the quilt and pin and stitch it place, by hand. Use a hidden stitch so it is not visible. However, before you pin and stitch you will need to turn the binding under about a half inch and press.
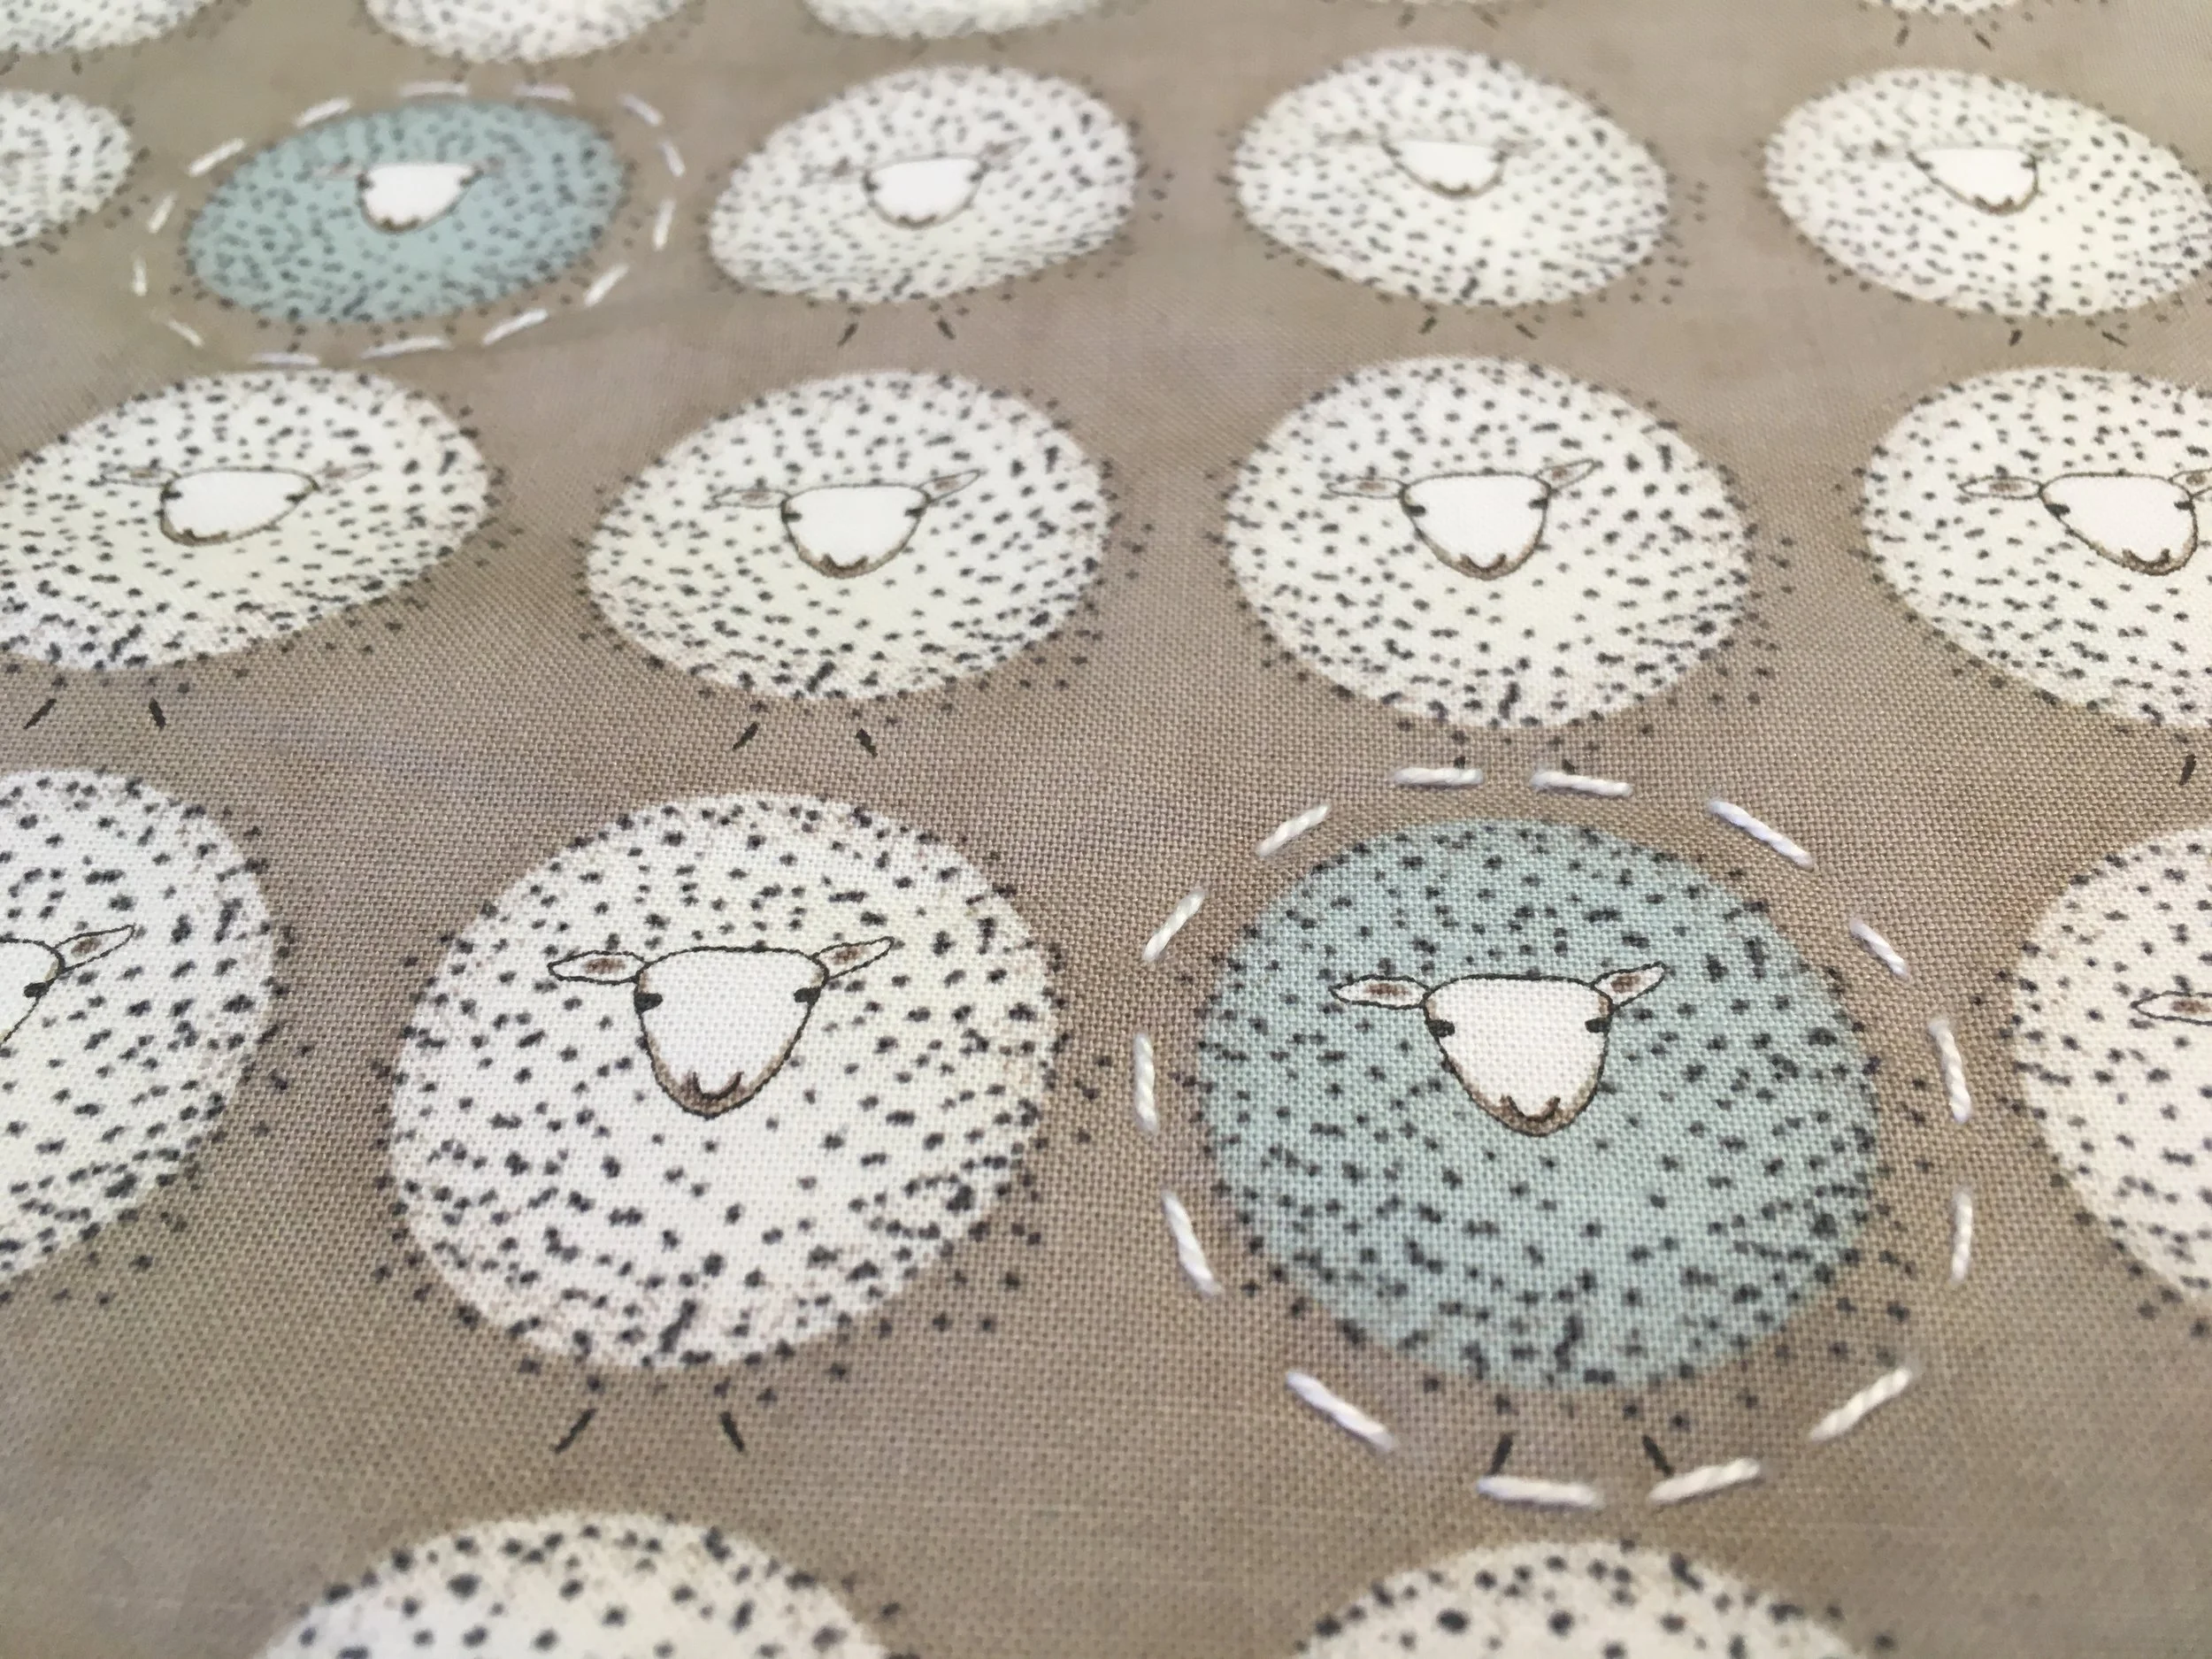
The hard part is over, phew! Now you may hand quilt however you like, using your preferred thread and technique. I used Perle Cotton and quilted around all the aqua lambs except for the ones nearest the binding.
*Note: If you want the quilting to go right up to where the binding meets, you will want to do all the quilting before you sew on the binding.
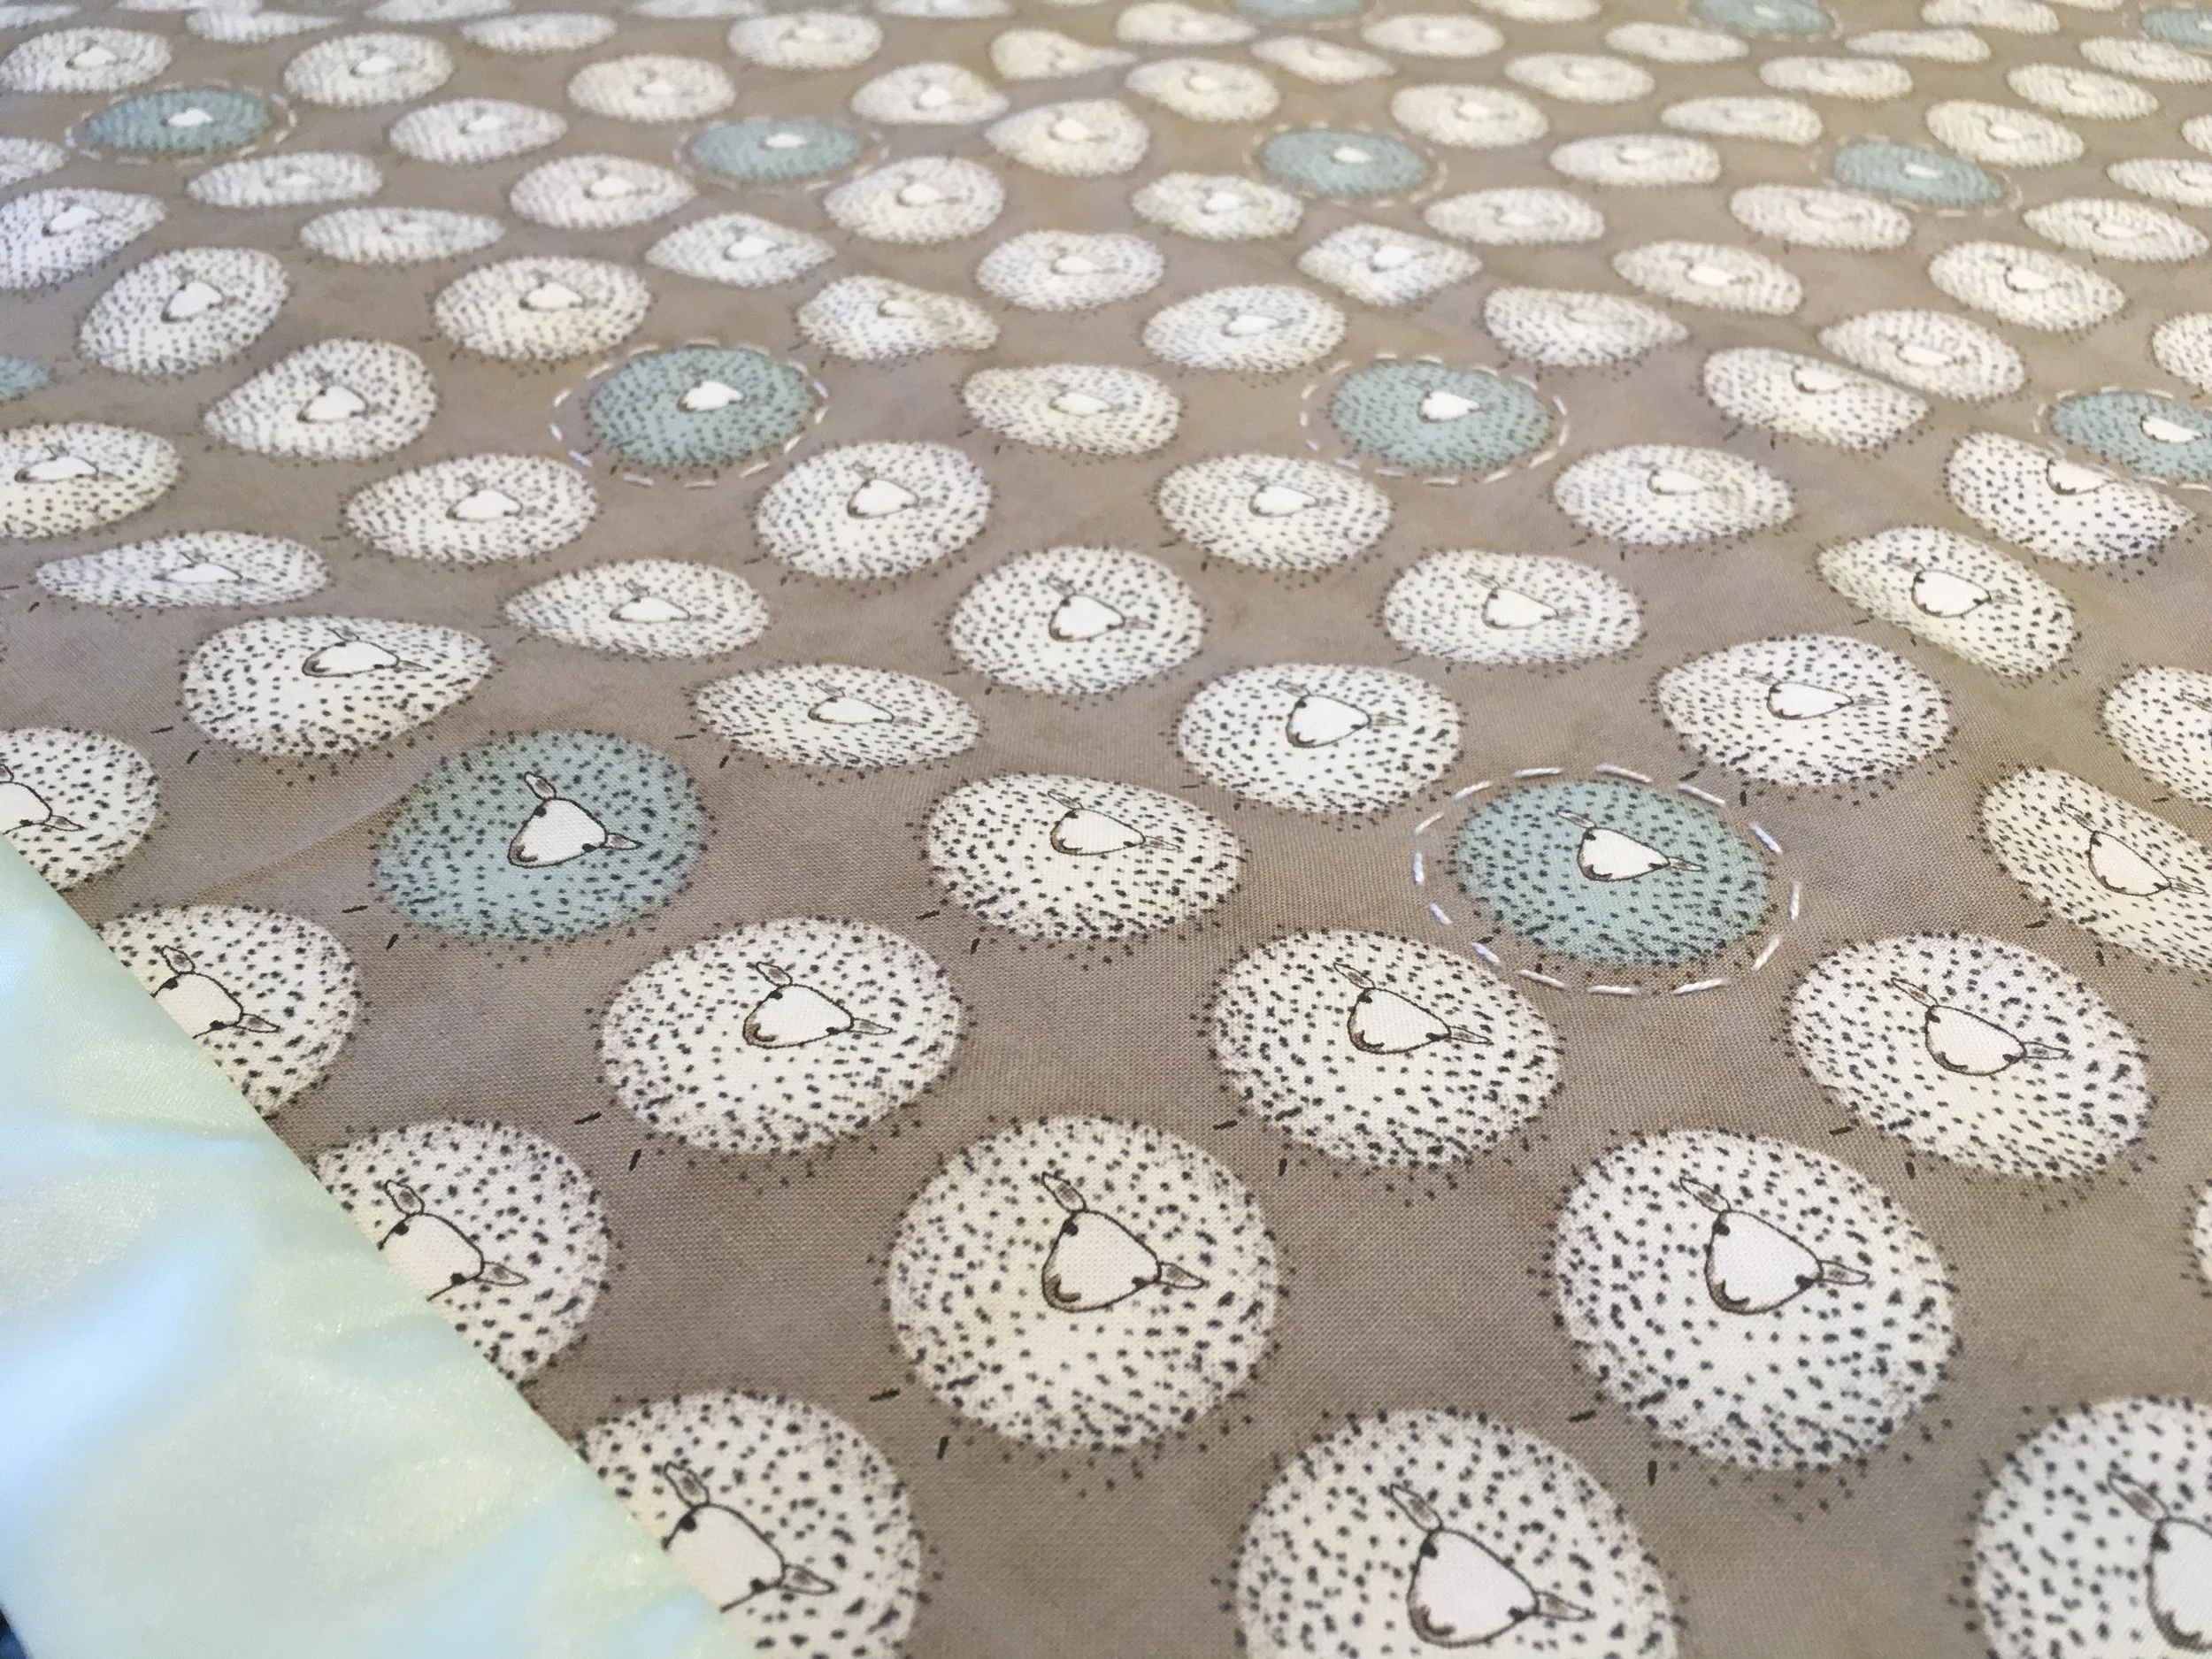
If you really like this particular print, you are in luck! We have three different color ways in this adorable print, one with a soft pink background and the other has a light aqua background. This quilt is on display in the shop so come on down and check it out. We can't wait to see you!