Runaround Bag a pattern review
By April
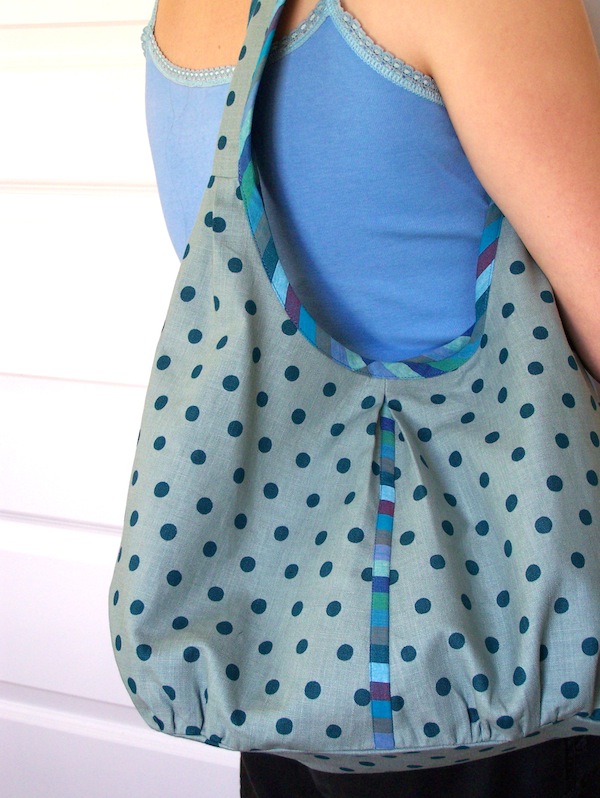
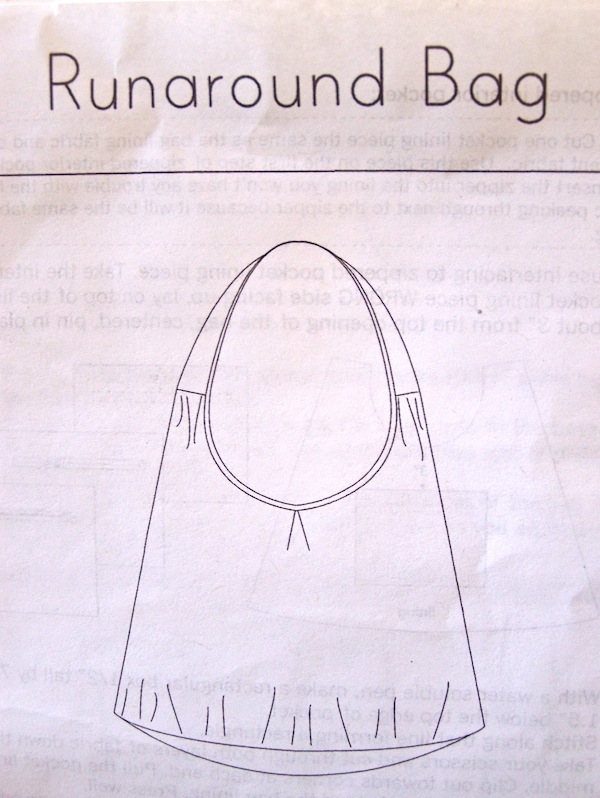
This is the Runaround Bag by Nooodlehead.
This pattern is a quick and easy sew. Just a few hours from start to finish. It is a great shape and size another winner in the Noodlehead pattern line.
I advise reading the directions thoroughly before getting started. Having little to no distractions while cutting out your pattern pieces can be helpful (if you have that option).
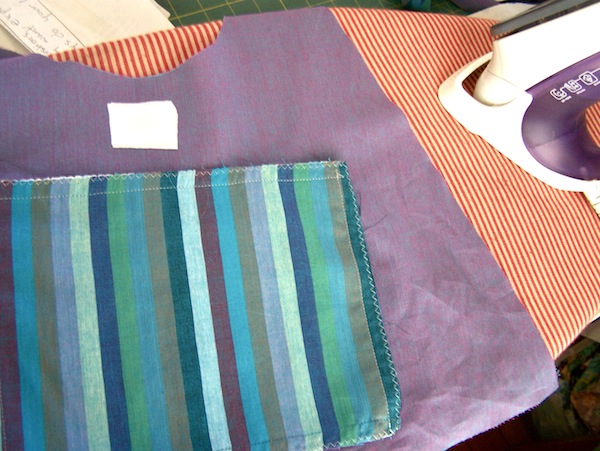
This is a photo of the inside of the bag that you won’t see once it is finished. The white squares are a double layer of interfacing to stabilize the point where a magnetic snap will be installed. The striped square shows the size of the interior zipper pocket, nice and roomy.
Ever had one of those projects that you just kept making mistake after mistake? Yeah, that was me this time. The very first pattern pieces I cut with the fold on the wrong side. I didn’t read the directions fully and rushed to try and do things my way…..classic mistakes that I know better not to do.
I decided to just go with it and see what happened. Sometimes sewing is about problem solving, learning, making it work and rolling with it.
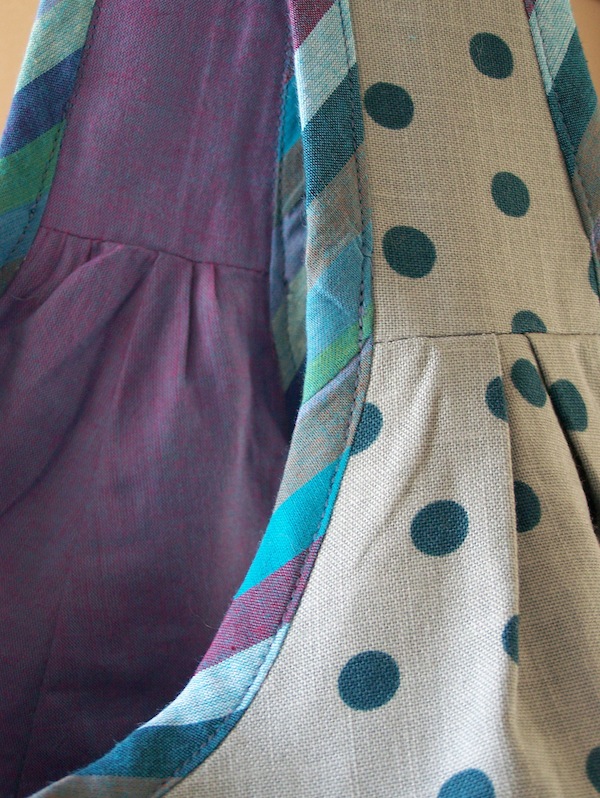
You need a couple of yards of bias tape for this bag. I opted to make my own. I love an excuse to use my sewing tools. The one inch bias tape maker is a great tool to own, it takes the chore out of making your own bias tape. I love the look of this Kaffe Fassett shot cotton stripe on bias.

The interior fabric is an amazing color way of shot cotton the warp is hot pink and the weft is turquoise making the end result an electric purple.
I used an Echino linen blend polka dot for my exterior fabric. The hand of this fabric is a bit more stiff than a quilting weight. Once interfaced it is a perfect weight for this bag. We have quite a few to choose from in the shop right now if you are in the market for a great linen polka dot.

See my stripe there on the side, yeah it is a little accent I used to cover up where I cut out my pattern pieces backwards (the seam should be on the side of the bag). The upside is I like the look of it, hiding out under the side pleat. Another plus is there are no side seams on my handbag.
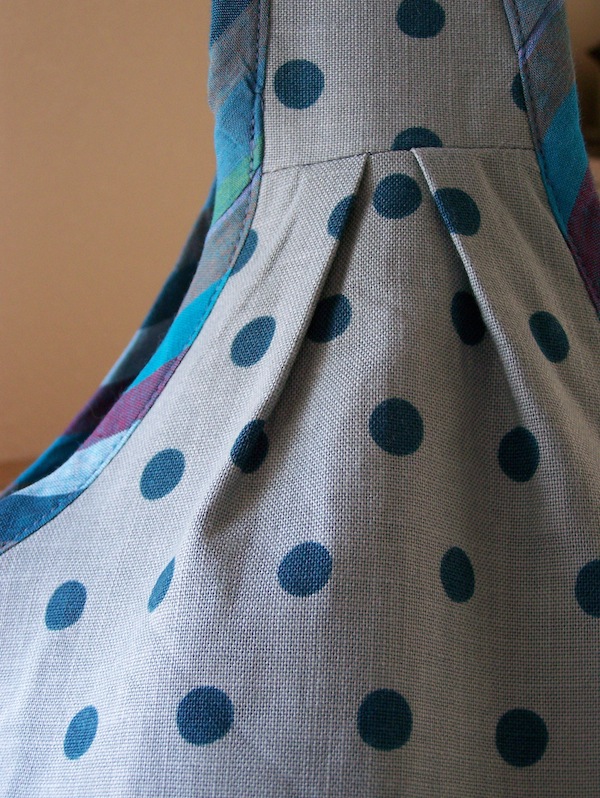
I opted to make pleats instead of gathers on the exterior strap, the bulk of the fabric was too much to gather for this particular piece. I am happy with this detail it gives it more of a tailored look.
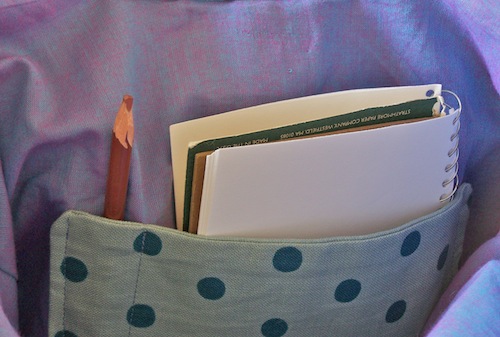
Some things you may find interesting about this bag. If you choose to not put a magnetic closure inside, the bag is fully reversible! There are directions for a lined zippered pocket. There are also standard pocket directions. This bag has one of each and a slot for a writing utensil.

One thing that I did differently than the directions was to connect my bias tape ends on the bias. I find that a straight of grain connection with bias tape can leave a bump in the fabric. It is a little more challenging to connect bias tape ends on the bias. This is a perfect time to use your iron (pre crease your sewing line) and a little fusible web to keep those ends in place and not mess with tricky small bits and pins.
Check out some of my other bag projects if you haven’t already Zippy Bag, Super tote and 241 tote.